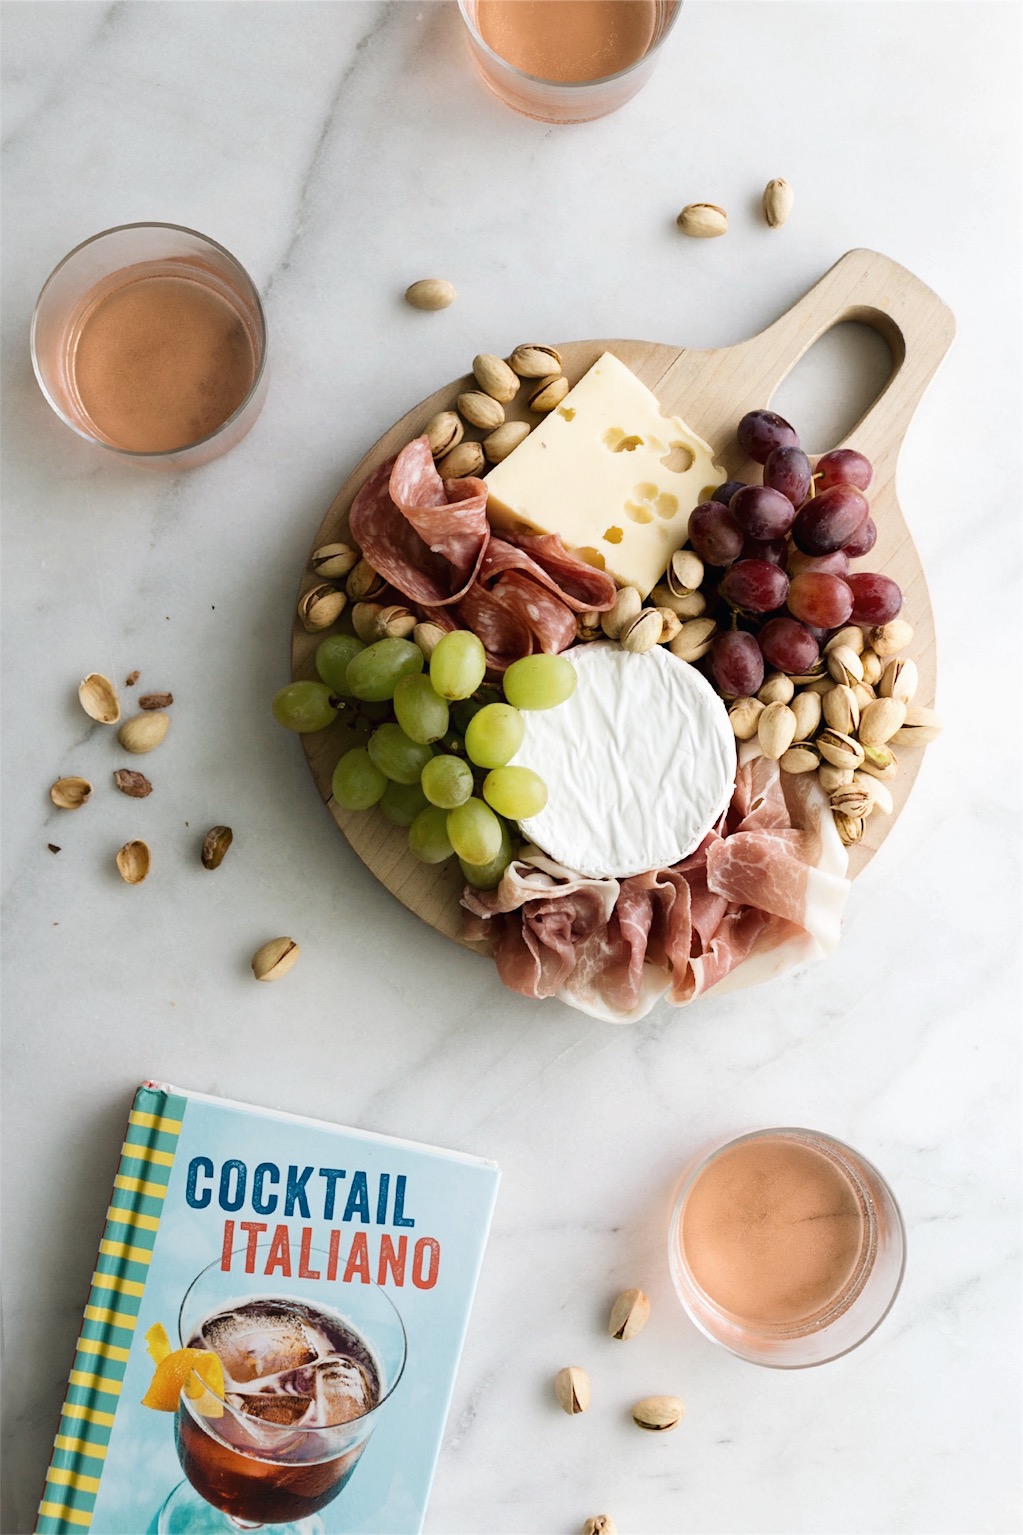
If there’s one trick every hostess must to master, it’s how to build a cheese board that will knock guests’ socks off. And the truth is, an incredibly artful cheese board is actually incredibly easy and quick to assemble! In the past couple years I’ve reached the point where I can put a magazine-worthy one together in under five minutes, and it’s all thanks to secrets I learned from stylist and entertaining guru Annette Joseph. I’ve had the good fortune to travel to Italy and learn from Annette in her element—but now Annette has made some of her best recipes and entertaining tips available to everyone in a must-have little volume called Cocktail Italiano. It’s arrived with just in time for you to brush off your serving boards and dust off your cocktail shaker in preparation for some seriously smashing spring-to-summer fêtes!
The book is packed with regional Italian cocktail recipes that celebrate the art of aperitivo, a pre-dinner snacks, drinks, and social time about which the Italians are very passionate. Annette also shares her favorite nibbles, including her foolproof step-by-step for how to build a cheese board like the one I made here. With her tried and true formula, it doesn’t matter how big your board or how big your crowd! I’ve encapsulated it here, but definitely pick up a copy of Cocktail Italiano for Annette’s recommendations on the best meat and cheese combinations, and of course for plenty of refreshing drinks to wash it all down. Cincin!
Five Steps to Build a Magazine-Worthy Cheese Board
courtesy of Cocktail Italiano by Annette Joseph
1. Choose your board. Annette recommends about 24 x 30 inches for a gathering of 8 people, so size up or down accordingly. You can find great ones at flea markets or thrift stores, and even a serving tray lined in parchment paper will work in a pinch! Grab spreaders, spoons, and forks while you’re at it. Annette also suggests setting bowls and plates atop the board for further visual interest; if you’re using those, place them first as the anchor points around which your food will be placed.
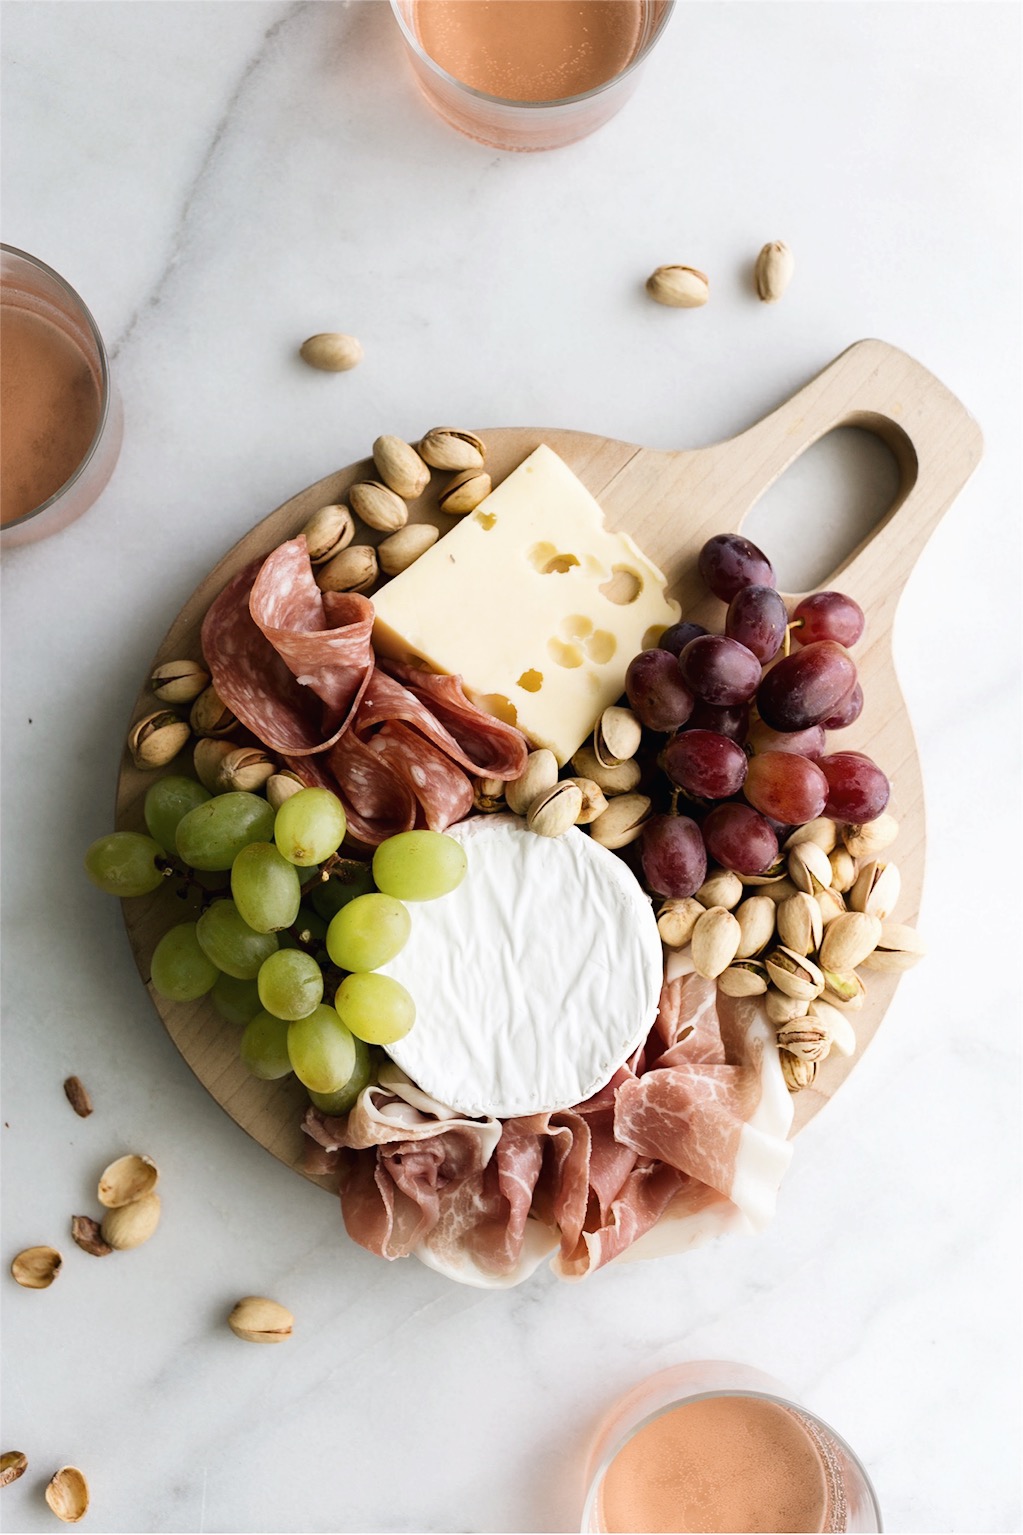
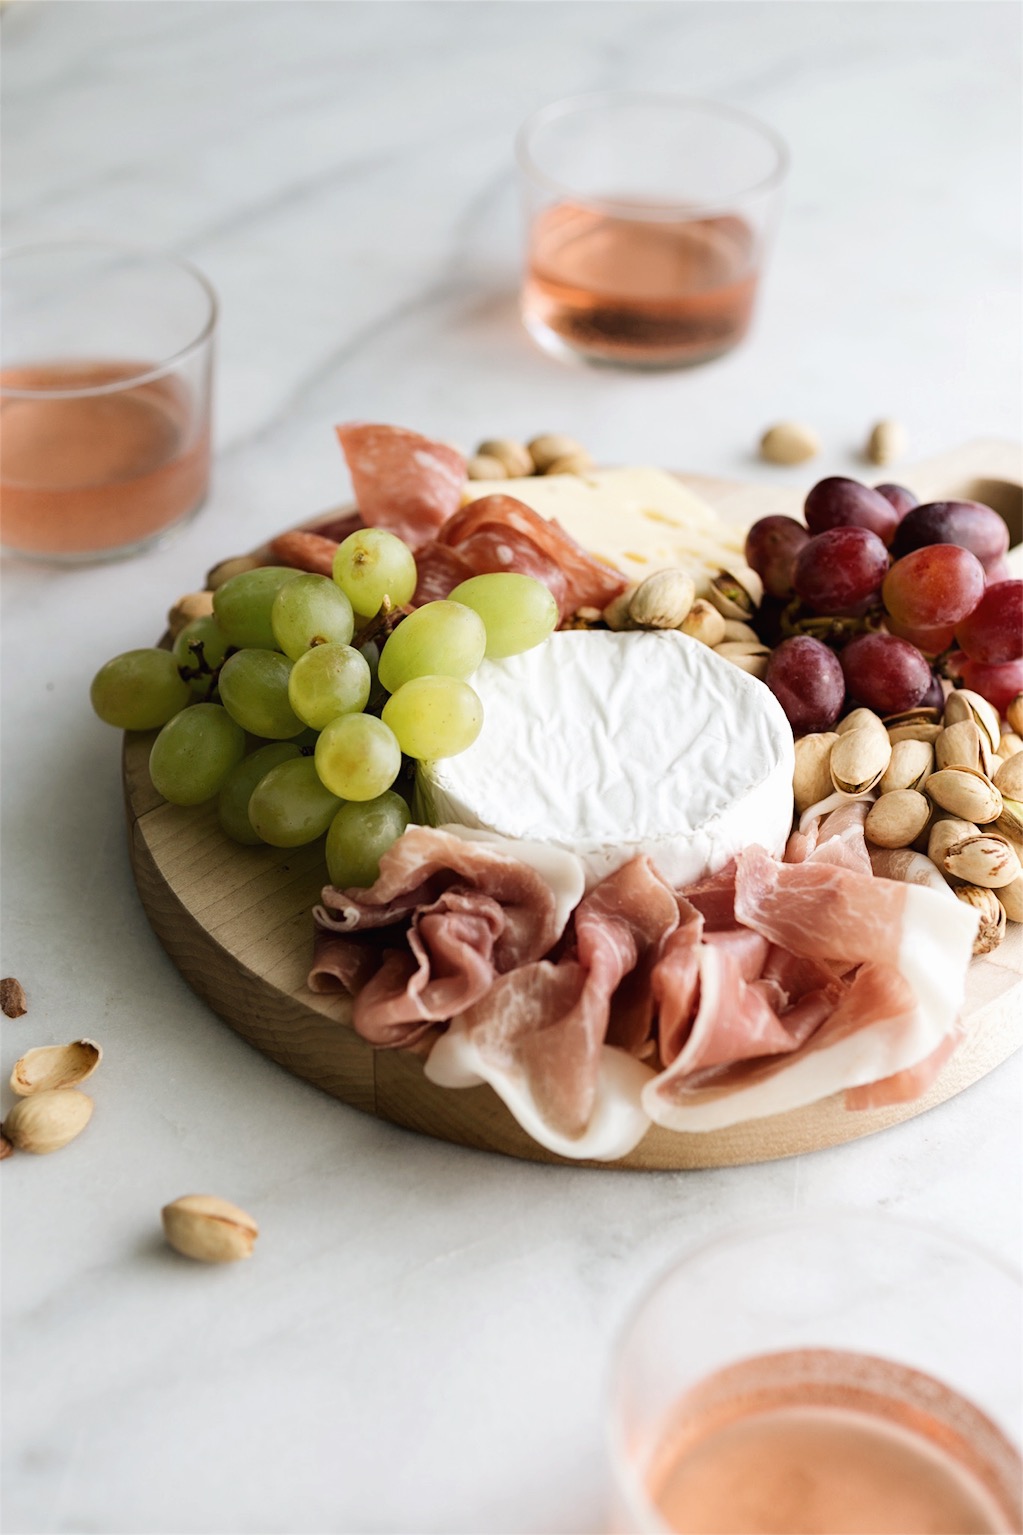
2. Add your cheese. Go for a mix of textures and flavors. At the very least, choose one mild soft cheese and one firm sharp cheese, like the brie and Swiss I selected for the small board shown here. Position cheese so that each wedge or round has plenty of breathing room for other ingredients around it; if your board is big enough, offset them in an ‘S’ pattern to carry the eye across the board.
3. Now bring on the meat! Pick up a selection of thinly sliced charcuterie—Trader Joe’s and Costco are both great sources! Arrange each variety of meat in a separate cluster, adjacent to a piece of cheese, using artfully crinkled piles or fanned layers. If you’ve got an open space, add a whole salami or even some pate!
4. Fruits, olives, and nuts. If you’re using small bowls or plates on your board, place grapes, pistachios, olives, marcona almonds, and other small yummies in your desired vessels. If you’ve got a smaller board as I did here, tuck these items directly on the board amongst your meats and cheeses. One of my favorite tricks is to save pistachios or almonds for the very end, then fill any holes in my composition with the nuts for that overflowing effect!
5. Jams, Spreads, Crackers, and Breads: Last but not least, pop a couple spoons into some mini jam jars (fig spread is my fave) and place the jars on the board. Clusters of crackers, breadsticks, and baguette slices can fill any remaining holes. Or, if your board is on the smaller side like mine here, place these items in auxiliary bowls and arrange them around the main event for a spread that will look as incredible as it tastes!