When we moved into our new house, I compiled a list of rooms I knew I wanted to renovate right from the get-go. The kitchen was a top priority, and the primary bath (link to DIY faux marble blog) was a close second. (You can see how I tackled those DIY projects and more on the blog!) Then, as soon as my daughter, Halo, was ready for a proper big girl room, I knew I wanted to update her space, too. But it wasn’t until I discovered Hewn Stoneform flooring that it felt like something I could tackle!
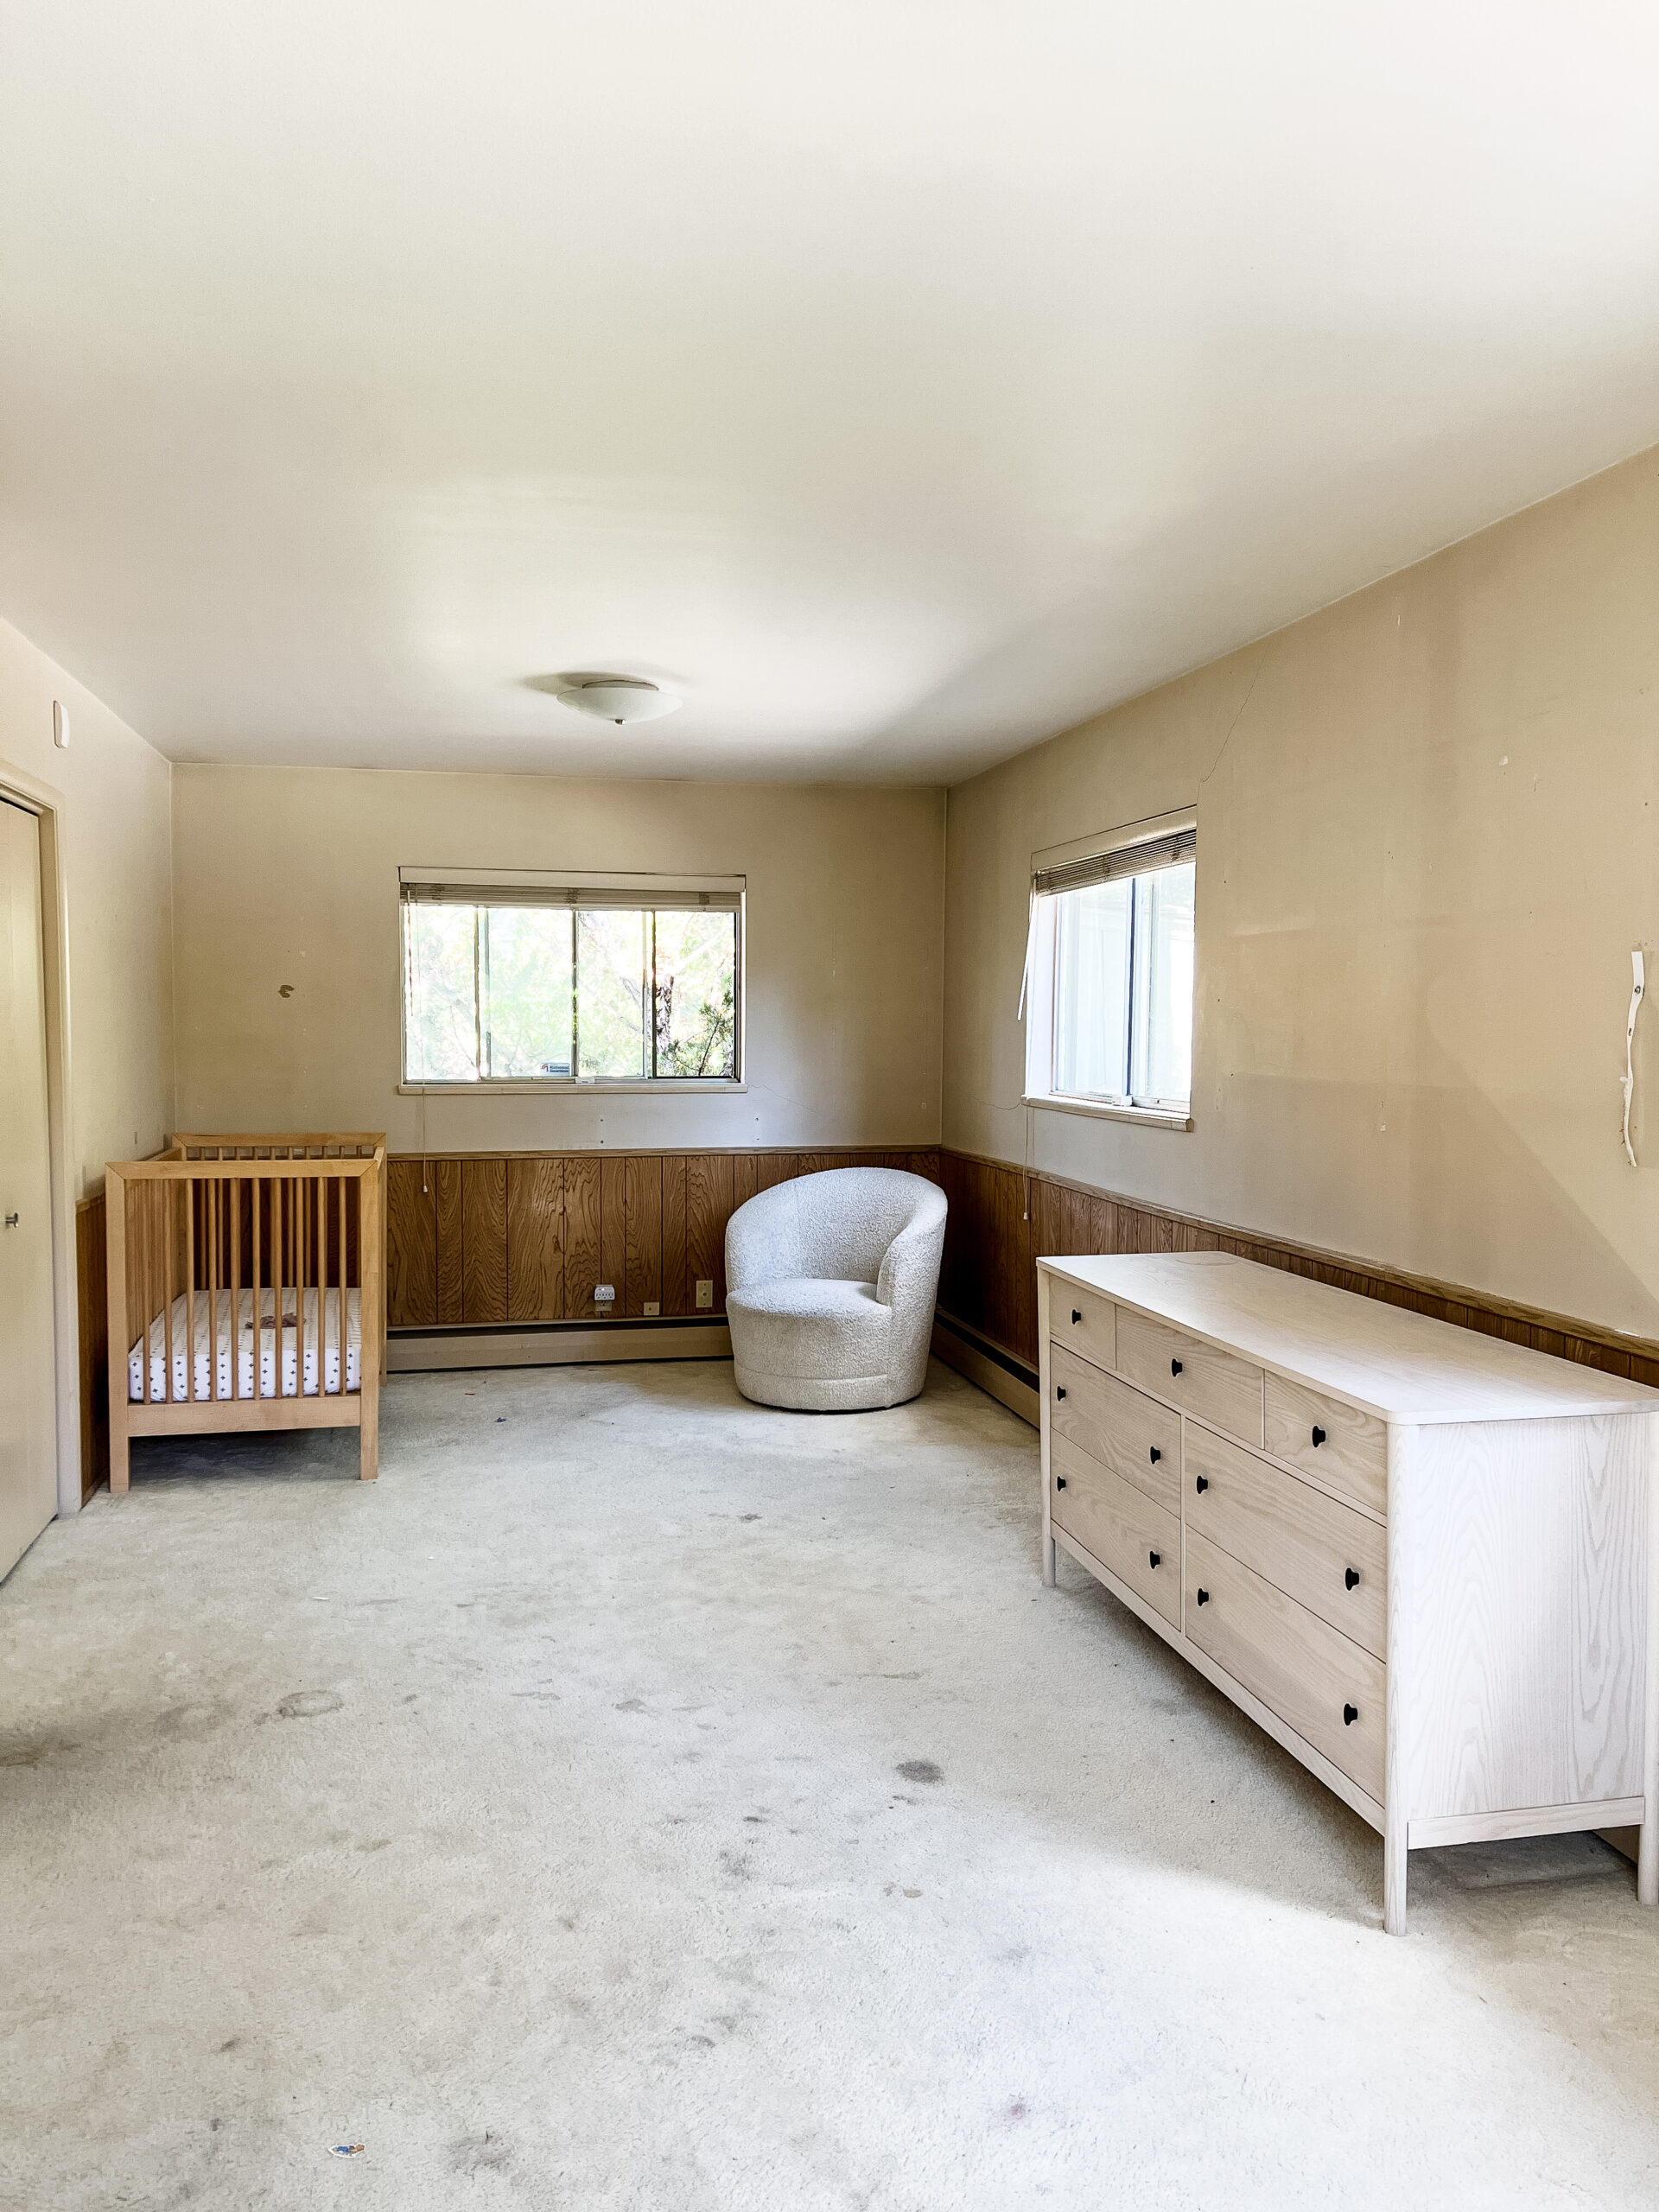
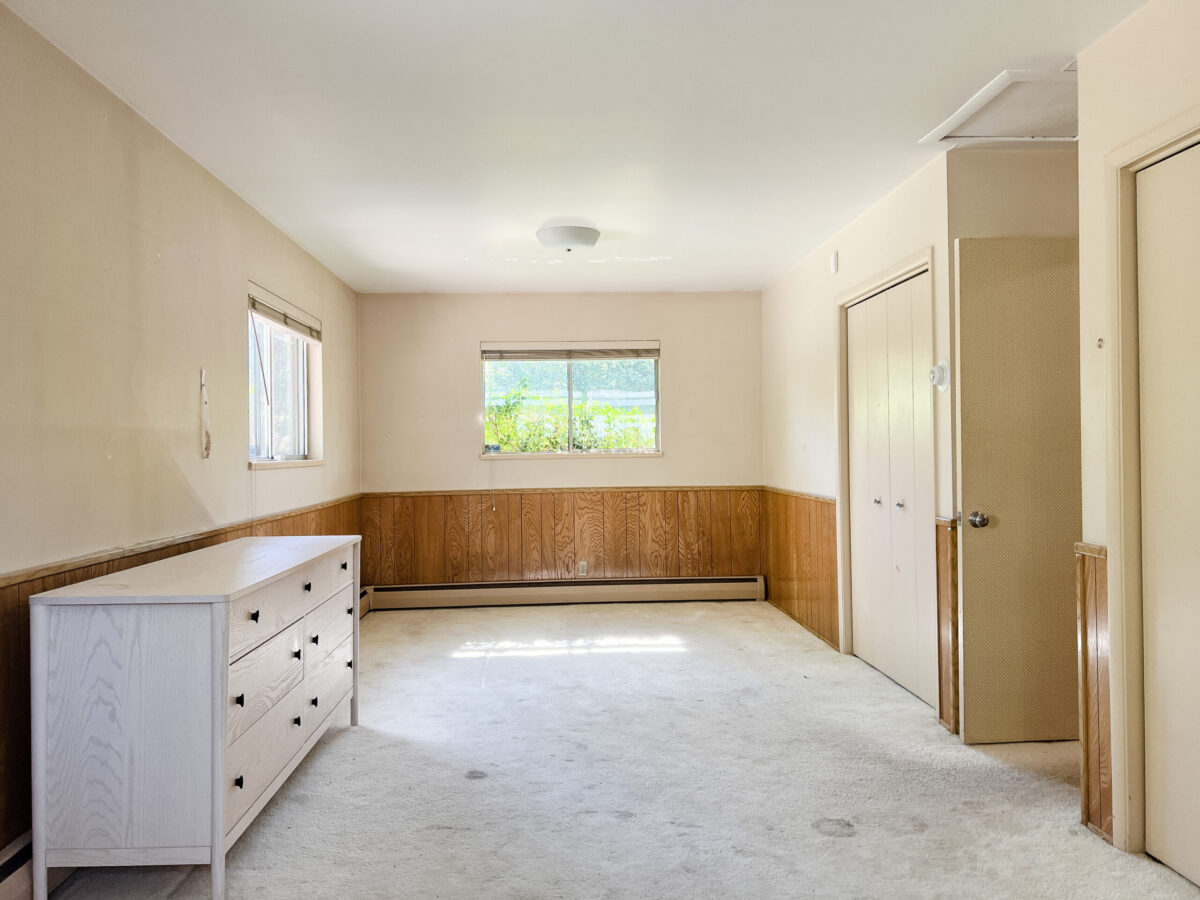
The floors, covered in an old, worn carpet from the 80s, were absolutely horrible. Actually, Halo’s room originally belonged to my father when he was a child. During our flooring demo, he asked if we could locate a 1964 quarter hidden in the floorboards. After ripping out the old, dusty carpet, we found his cherished coin!
I knew I wanted new flooring that closely resembled the engineered wood in the rest of the house. What I found was almost identical AND easier to install. Enter: Hewn Stoneform™ flooring. However, this is a relatively new product on the market without many tutorials for DIYers like me. Now, after installing it ourselves, I’ve picked up a few tips and tricks that I think will help other folks out.
All About Hewn Stoneform™ Flooring
Hewn is a company of flooring innovators who put both design and functionality at the forefront of their business. Hewn’s proprietary, luxury vinyl plank floors are 70% limestone, making them one of the highest quality limestone vinyl composite flooring options on the market. The Stoneform product is highly durable and waterproof, with a more organic feel than any of the standard vinyl planks I’ve felt.
One of the coolest aspects of Hewn Stoneform flooring is the patented locking system for their planks that requires no special tools or skills to install. The planks simply click together! Of course, you could hire a pro if you wanted to, but I’m living proof that someone with absolutely no flooring installation experience can still do a great job.
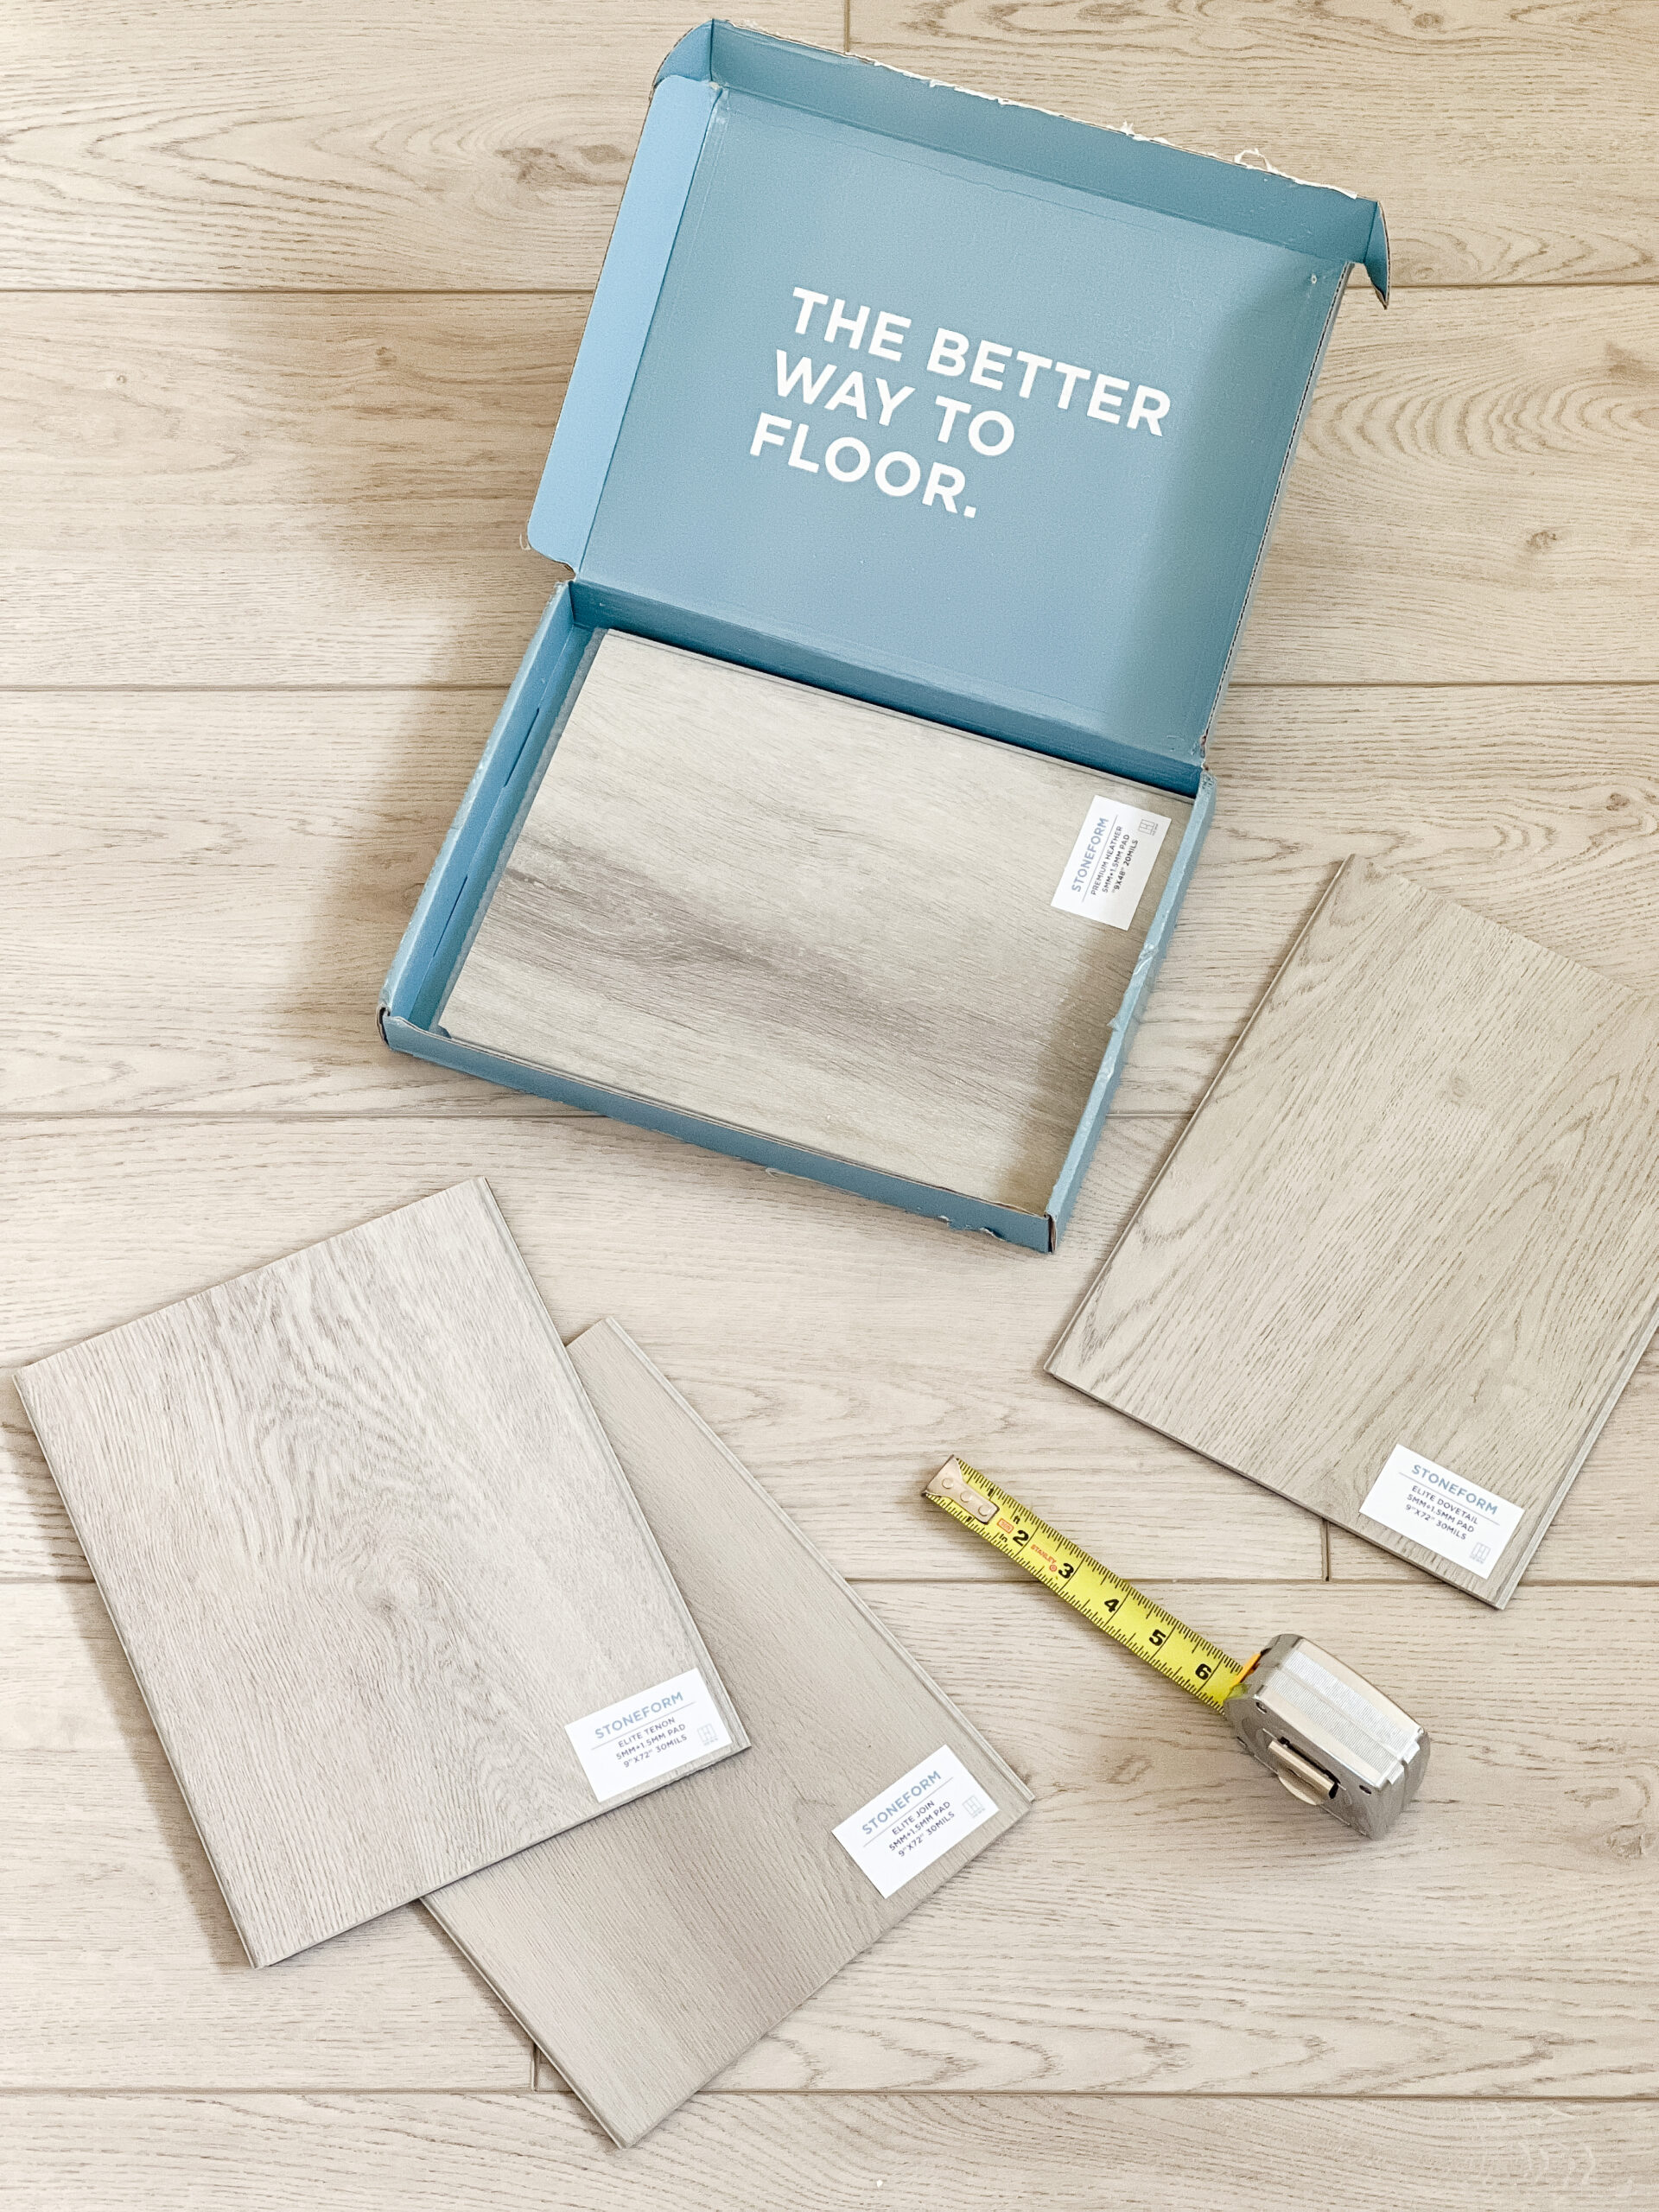
If you’ve ever purchased flooring materials, you probably know that the experience can be a little shady. Some retailers mark up their flooring prices, muddying cost transparency. Hewn, however, is open about their pricing and displays costs online in plain sight for customers to see (Stoneform is often somewhere in the range of $4-6 per square foot). Plus, you can order samples directly from their website! They also offer a fantastic range of colors, tones, and plank sizes. We chose a neutral, versatile plank with a white oak look in 9 x 72 inches, the largest size they make.
Tips to Flawlessly Lay Vinyl Limestone Composite Flooring
Make no mistake, laying vinyl plank flooring is an intensive DIY that requires a serious time commitment and lots of patience. Here are some tips to make the process go as smoothly as possible:
Tip 1: Watch videos at your discretion knowing they can only help so much.
This tip is true for any DIY. It’s really easy to get caught up in research. I consumed hours of tutorials before installing our flooring, only to be left with extreme project anxiety. Ultimately, I learned that I needed to dive in and start working to make any real progress.
Instead of binging every flooring tutorial known to man, I suggest you watch just enough to get started and understand how the project will progress. Be confident that once you’re in it, you’ll develop your own techniques depending on your room and unique situation. No project will go perfectly—there will always be bumps in the road—but endlessly watching videos does not increase the chances that you’ll have a perfect project!
Tip 2: Hewn’s lock system is akin to riding a bike. Once you get the feeling, you’re golden.
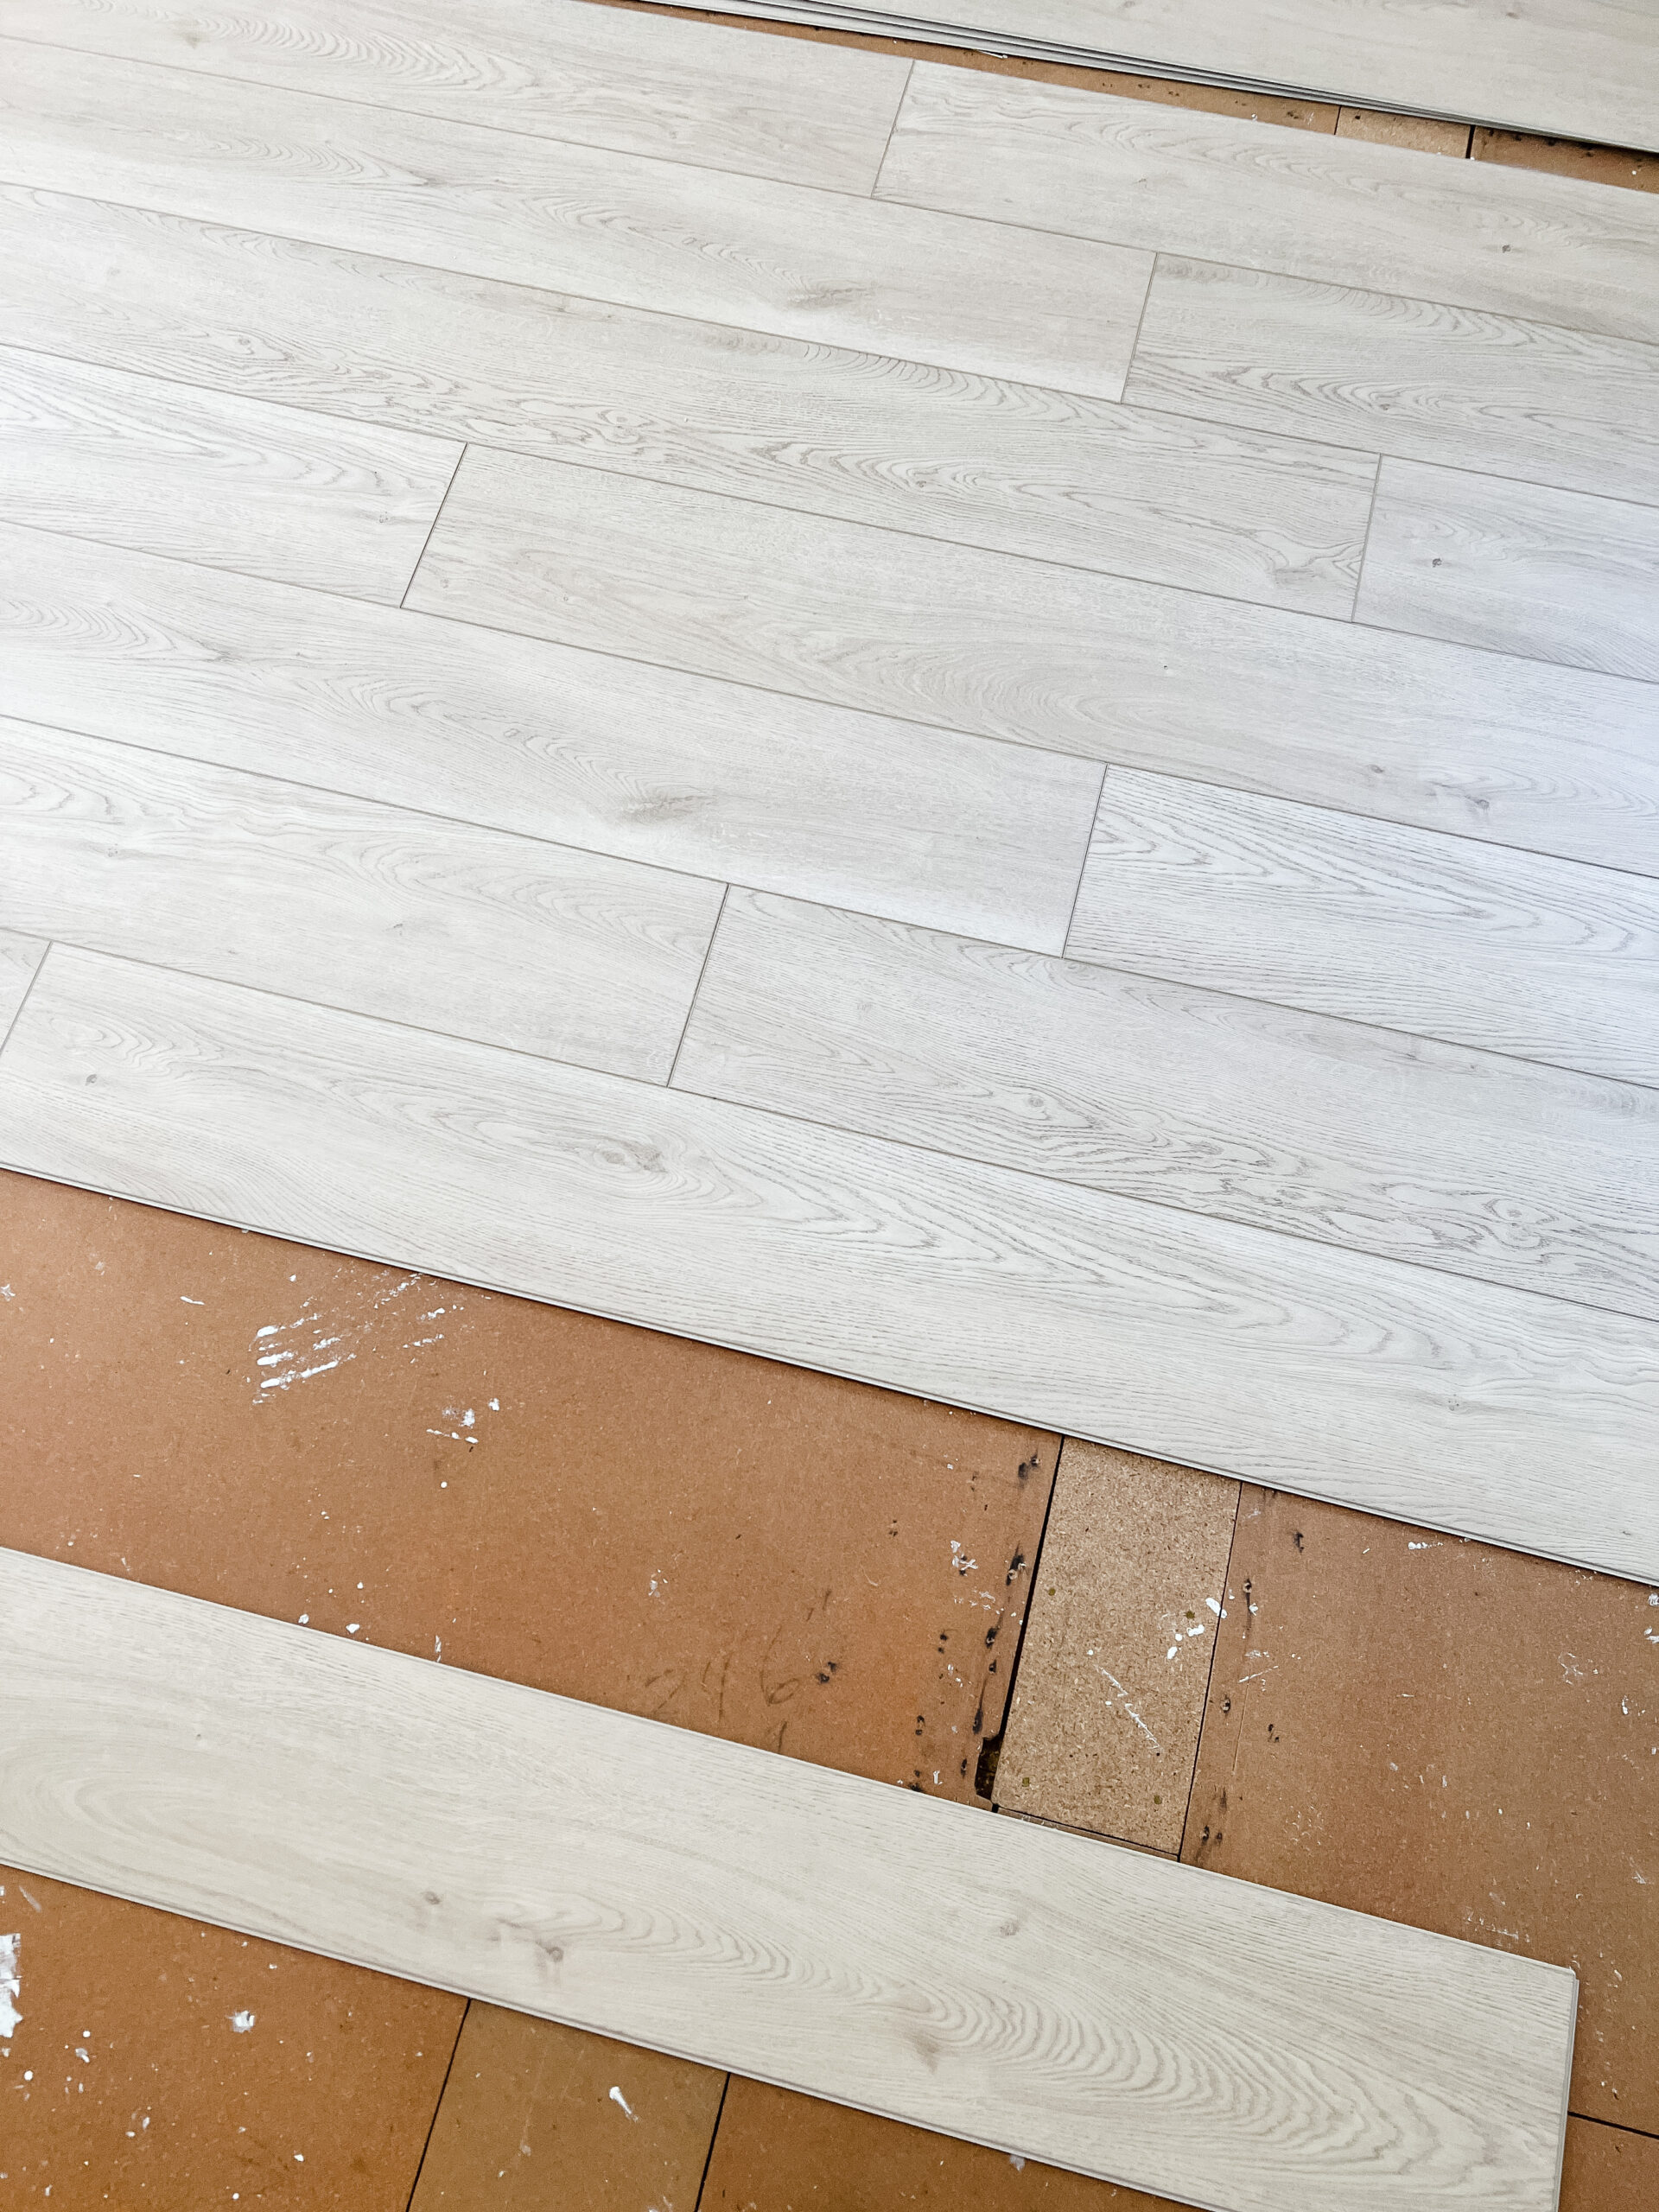
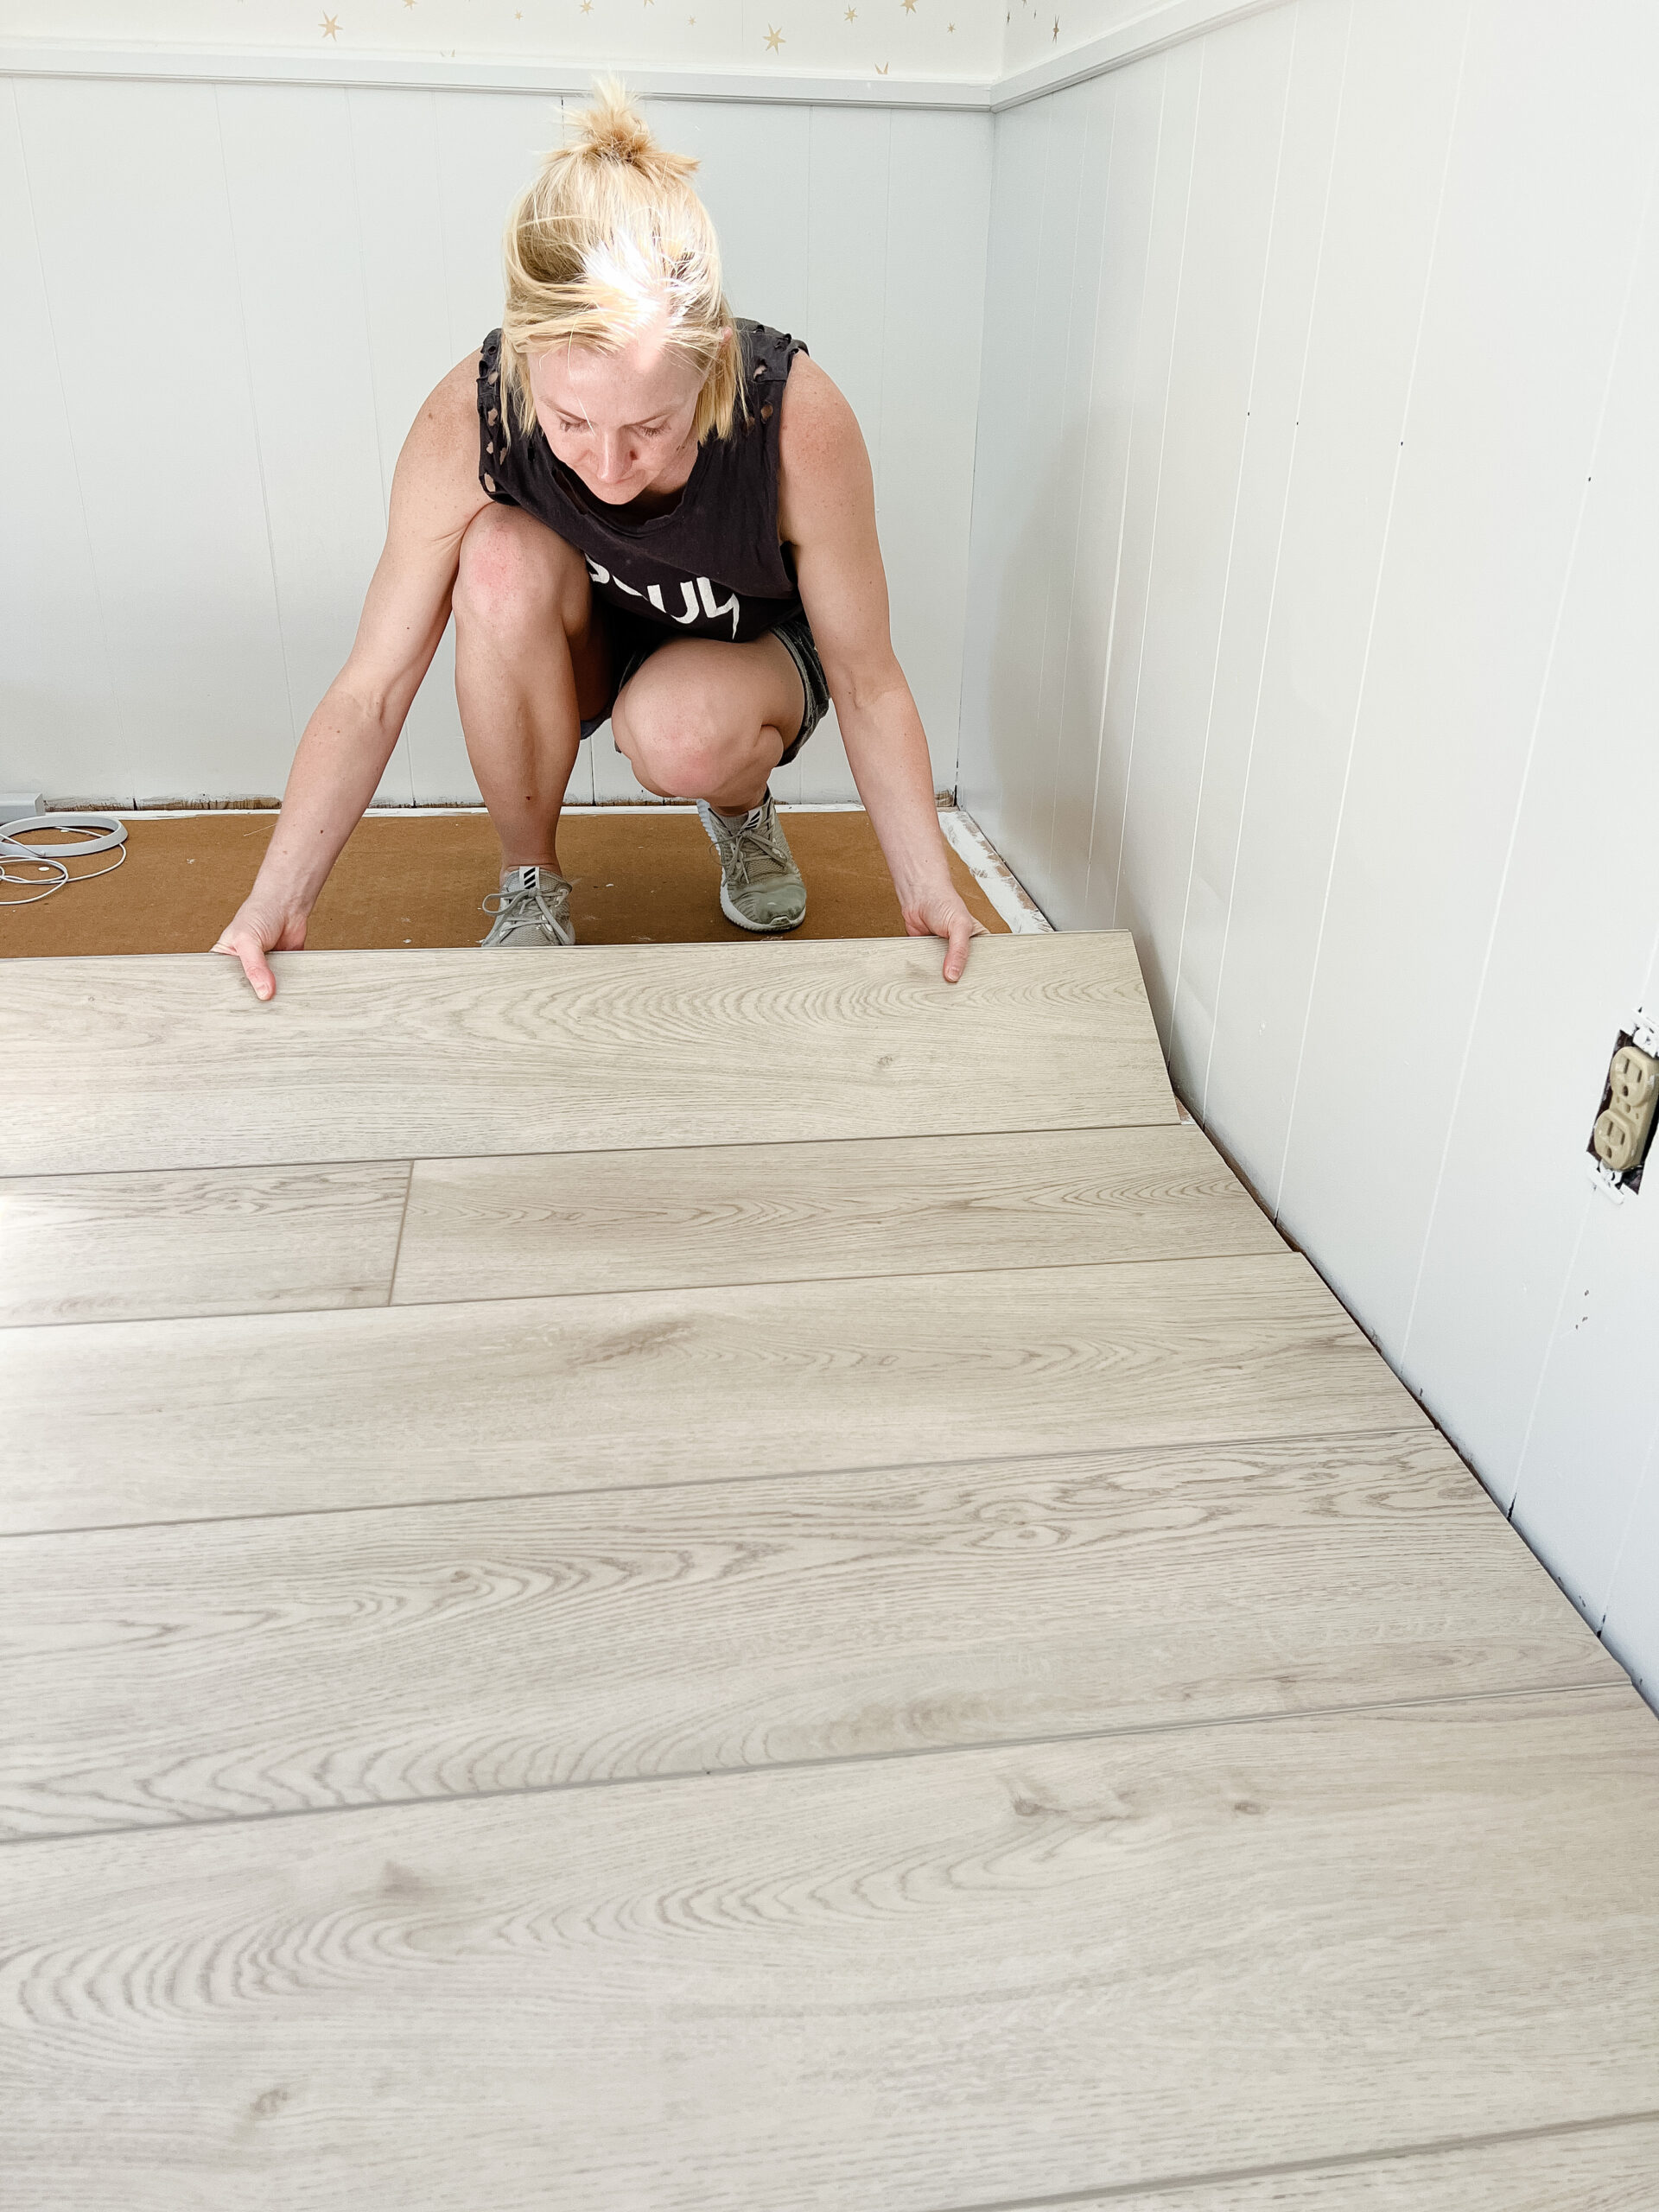
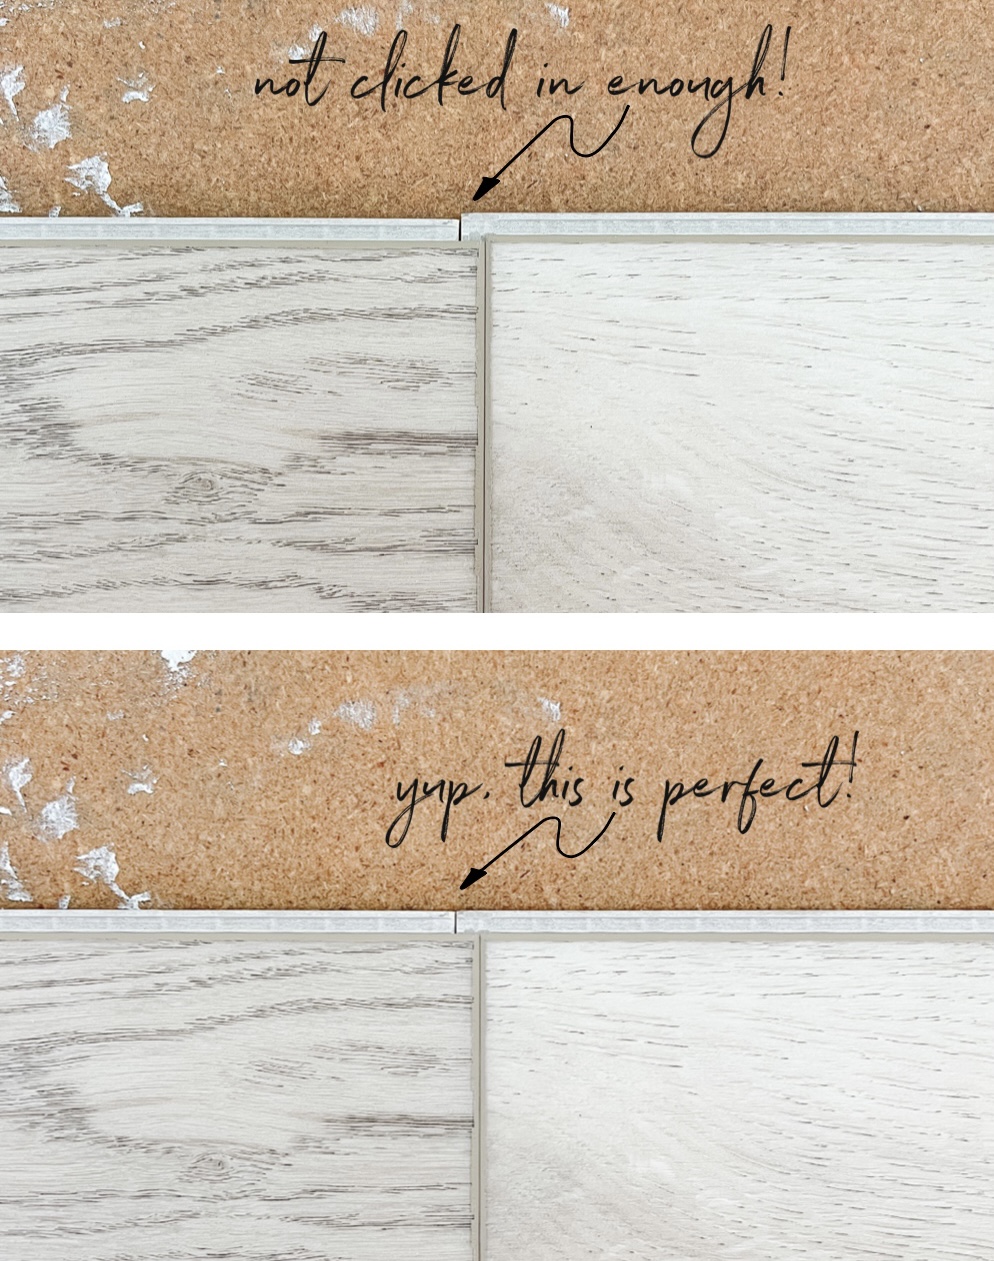
Hewn’s patented lock system is tricky to put in words. Essentially, it requires a sliding motion in which you slip a new plank into the grooves of another, then jiggle the boards into place until you feel them catch. You’ll know the planks are properly connected when you can’t pull them away. You might need a few attempts to get the hang of the technique, but once you get a feel for it, the rest of the planks go quickly.
Importantly, all boards must be perfectly parallel. If one is even slightly out of place, as shown in the image above, the next plank can’t rest properly.
Tip 3: Do all your math before laying out your planks (and use a strong blade when it’s time to cut!).
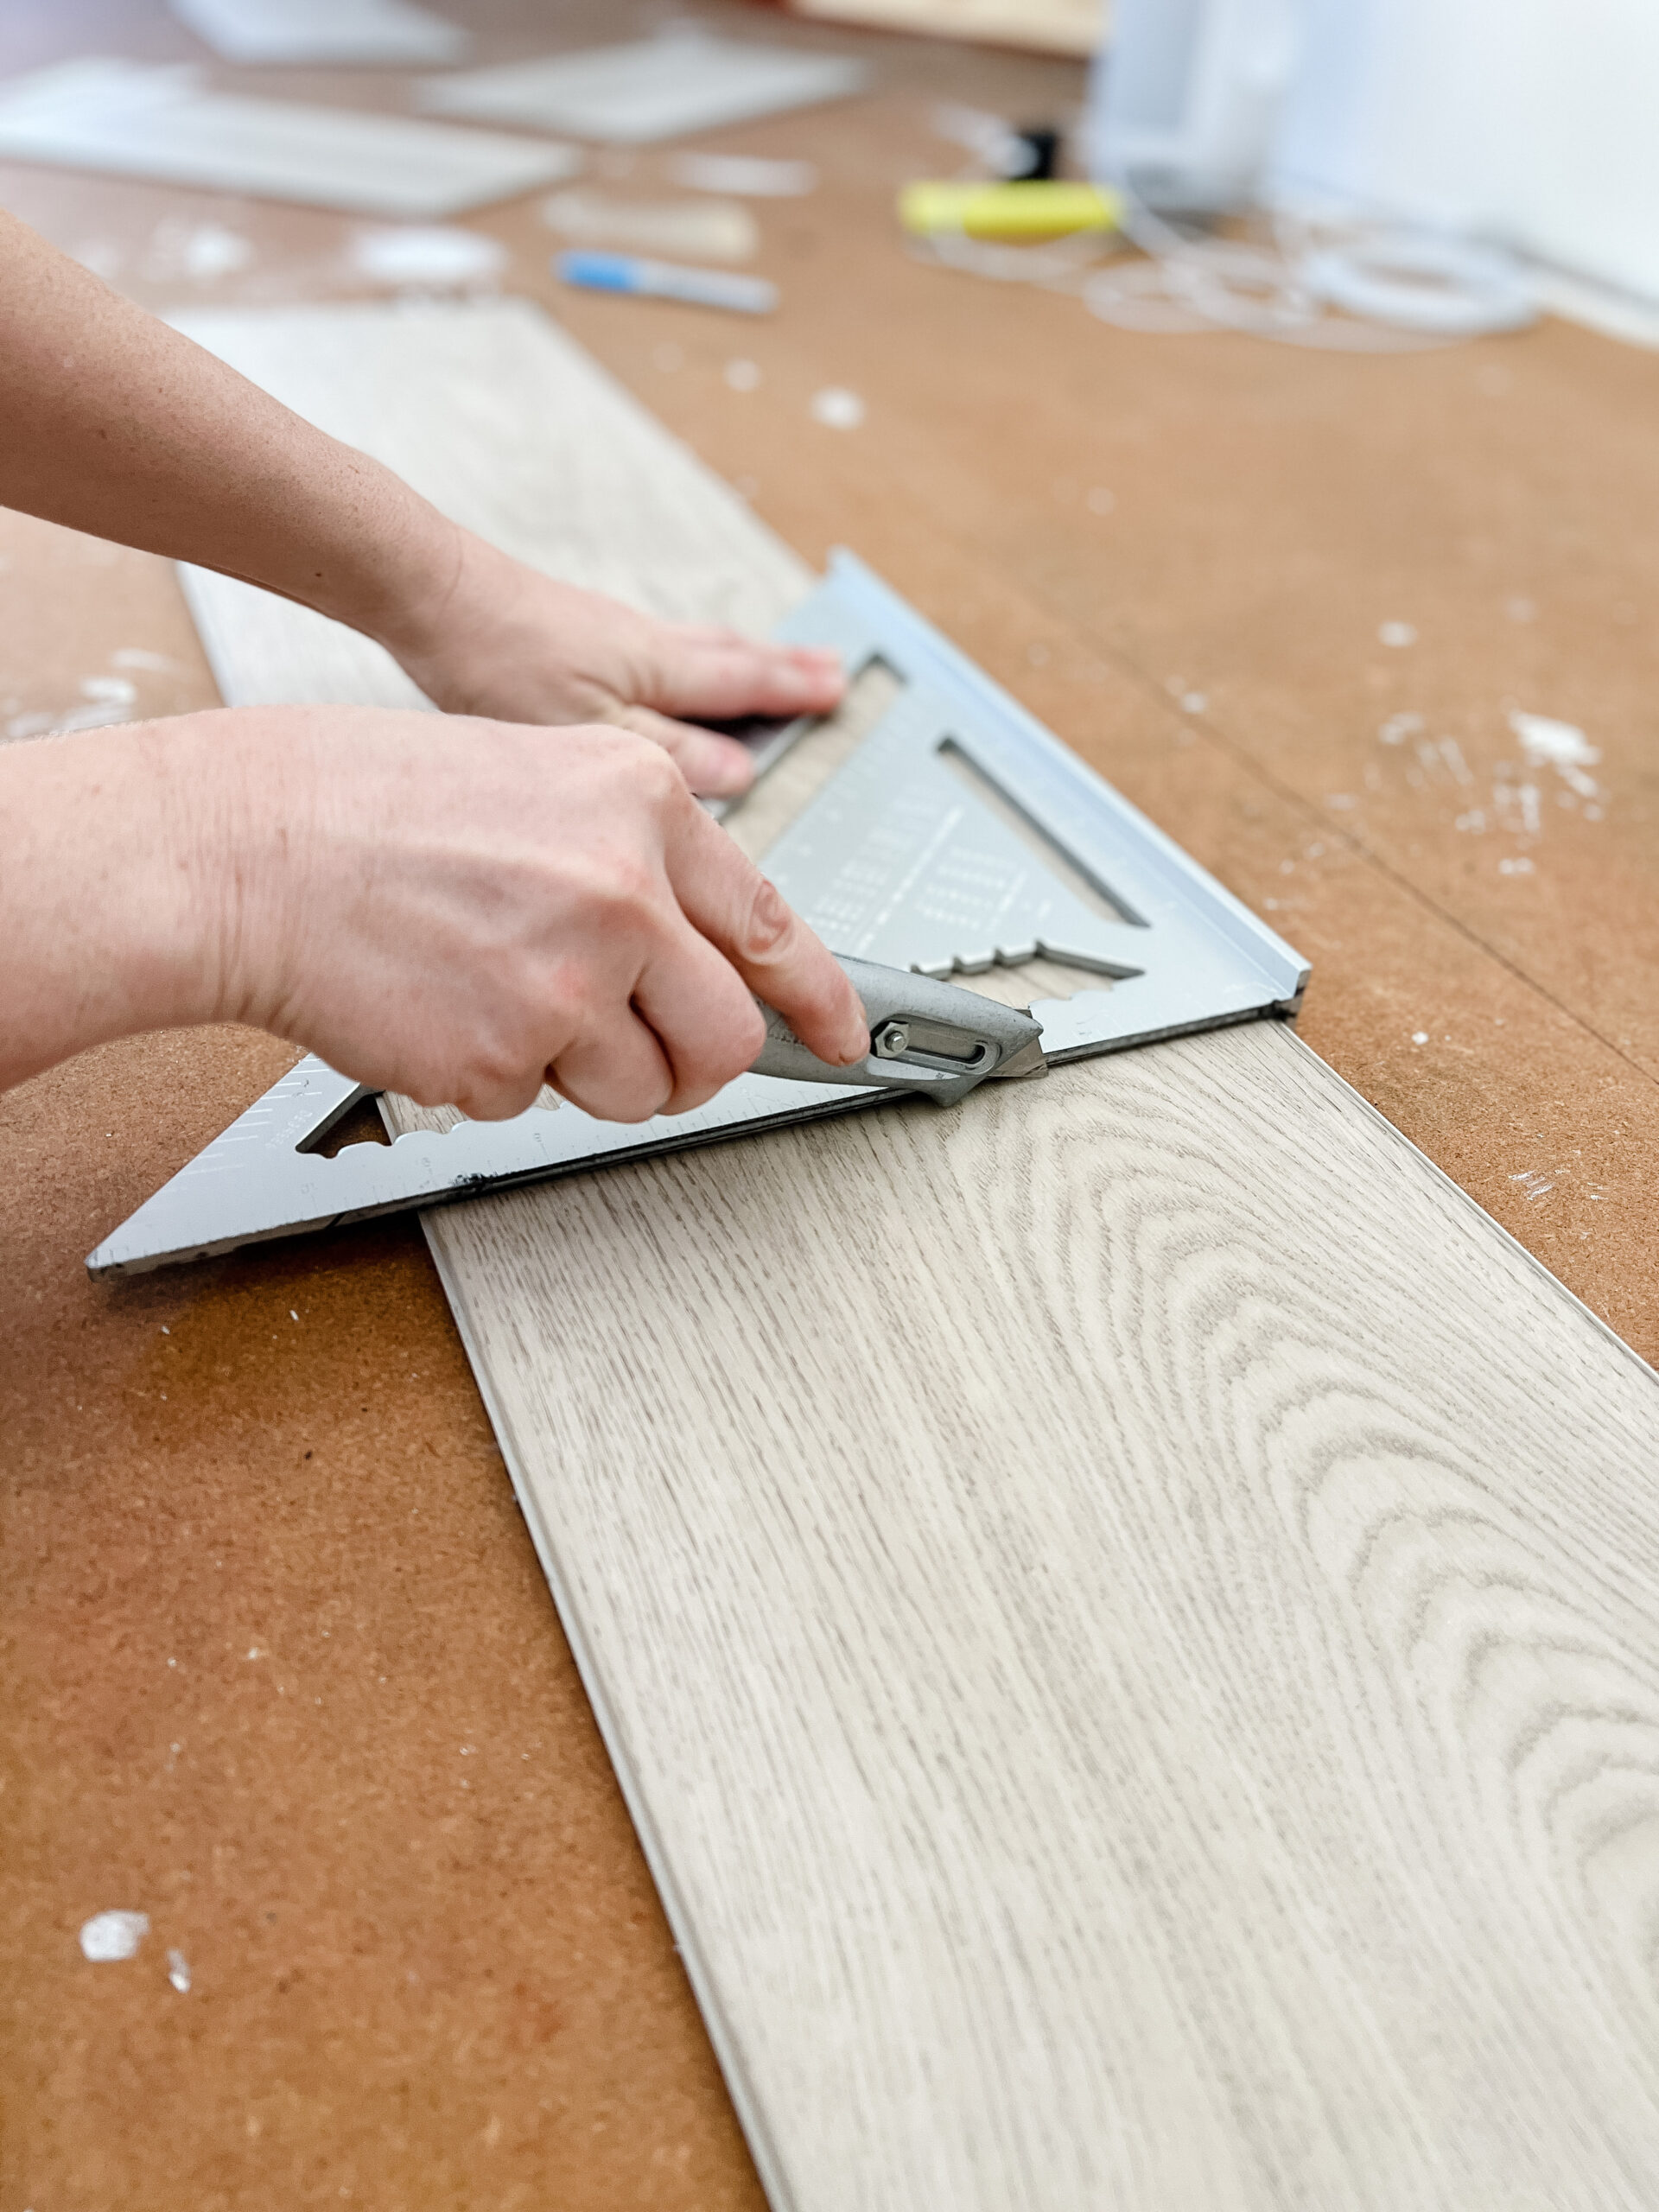
Traditional wood flooring installation requires lots of power tool cutting, both vertically and horizontally. But Hewn Stoneform™ flooring eliminates almost all of that hard work. To cut your planks shorter, you simply score the board with a basic utility knife, then snap along the score line.
You only need a power saw to make lengthwise cuts to boards that will be flush against a wall. Here’s why: Let’s say you line your floor with a handful of 9-inch wide boards, but when you approach a wall, you’re only left with 3 inches of space. Placing a skinny board there would look strange, right?
So to avoid a skimpy last board altogether, do all your math and planning before laying out your boards, and plan to remove a little material from all the outer planks to compensate. For example, we cut all 9-inch wide boards touching the walls down to 7 inches, so we weren’t left with dinky little planks at the end. Above you can see the simple plan I created in photoshop to get an idea of our layout, both in Halo’s room and in the adjoining room. We’ll be laying Hewn flooring there later this fall!
To make these lengthwise cuts, Hewn recommends you use a skill saw, which you can rent. However, I used a jigsaw (it was actually my first time using one!). Jigsaws have a smaller blade than skill saws, which makes them wobblier and leaves more room for error. And in the beginning, I certainly experienced some of that error. But by the end, my cuts were far improved. (And I also learned my lesson about not wearing safety glasses when a chunk flew off and hit me in the eye. Wear glasses when using power tools, friends!)
Pro tip: Use a blade specifically for hard materials. Remember, you’re cutting a stone composite, so wood blades won’t work. I used a diamond tip blade, which cut exceptionally well.
Tip 5: With Hewn Stoneform™ flooring, there’s no need for spacers, tapping, or shifting.
All other vinyl plank products require that you use a tapping block, a mallet used to knock planks into place. But with Hewn Stoneform flooring, no amount of tapping can move a plank into place. All you need to do with these planks is give a little tug with your hands to help shimmy the board into place.
In addition to tapping blocks, flooring installers often use spacers to leave an expansion gap between planks. That’s because planks expand and contract as the temperature fluctuates, causing boards to buckle if they’ve been installed too closely. Spacers add a little extra space, helping to prevent buckling from happening. Hewn Stoneform flooring, however, won’t budge once you’ve installed them, so you don’t need any spacers.
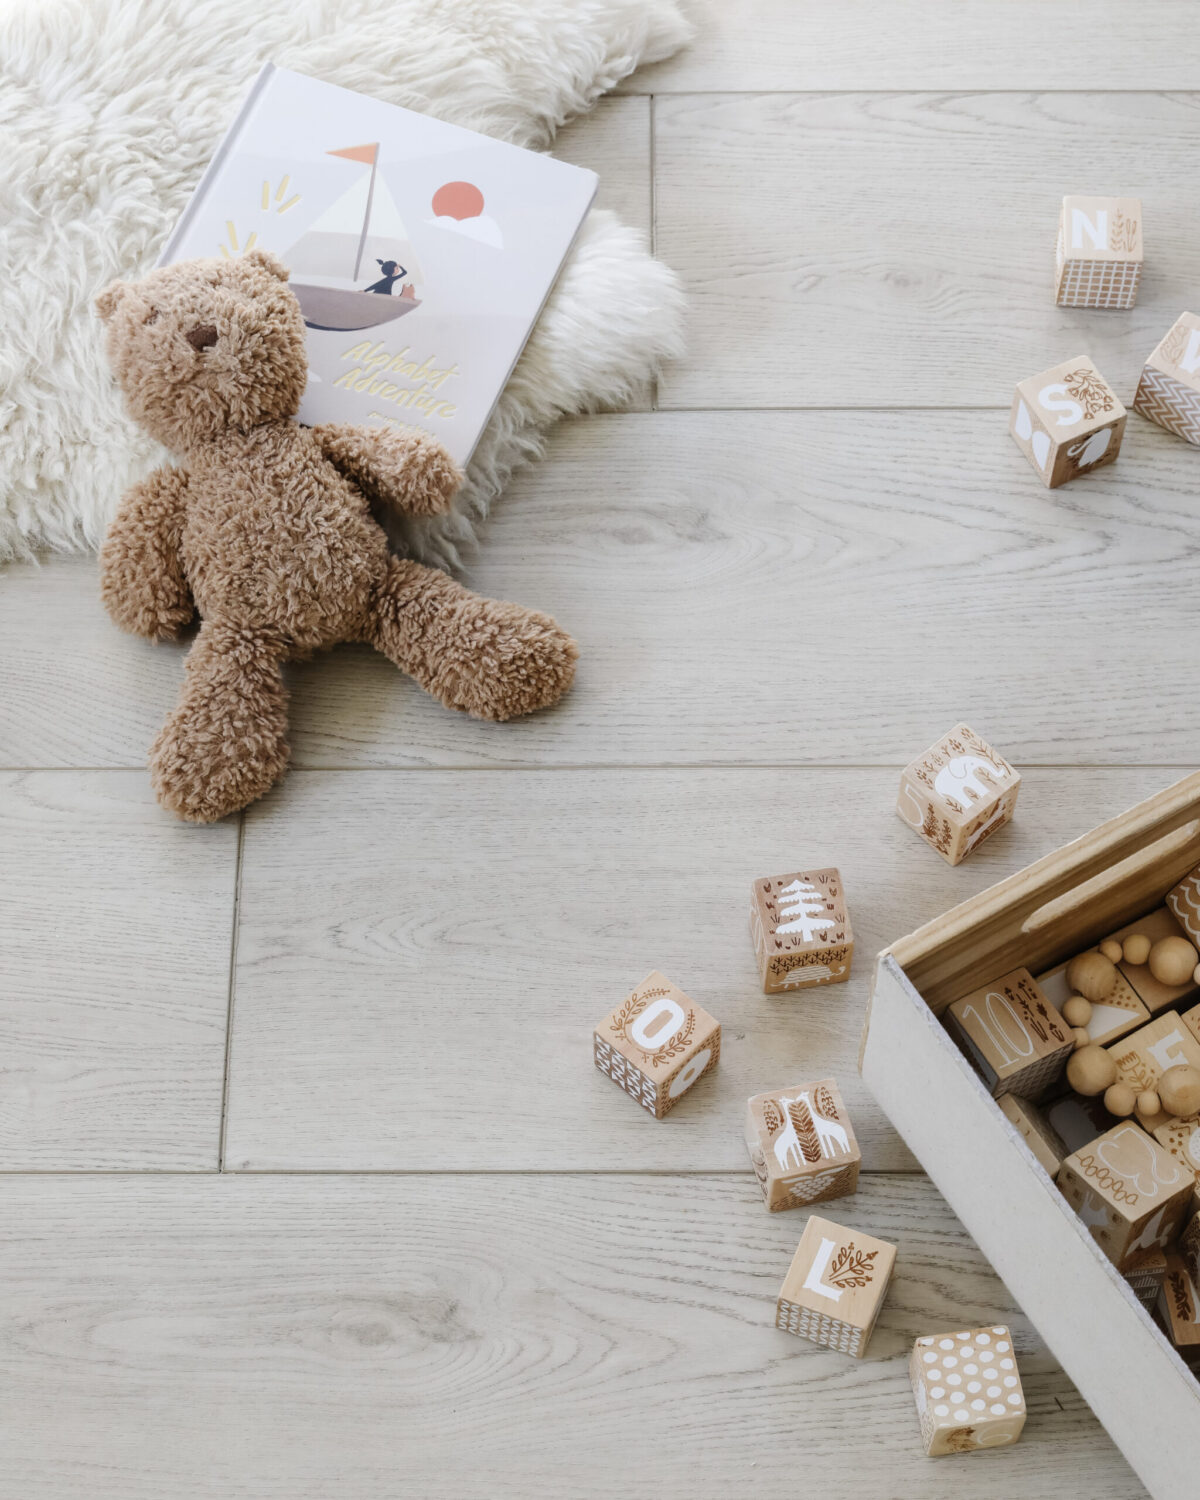
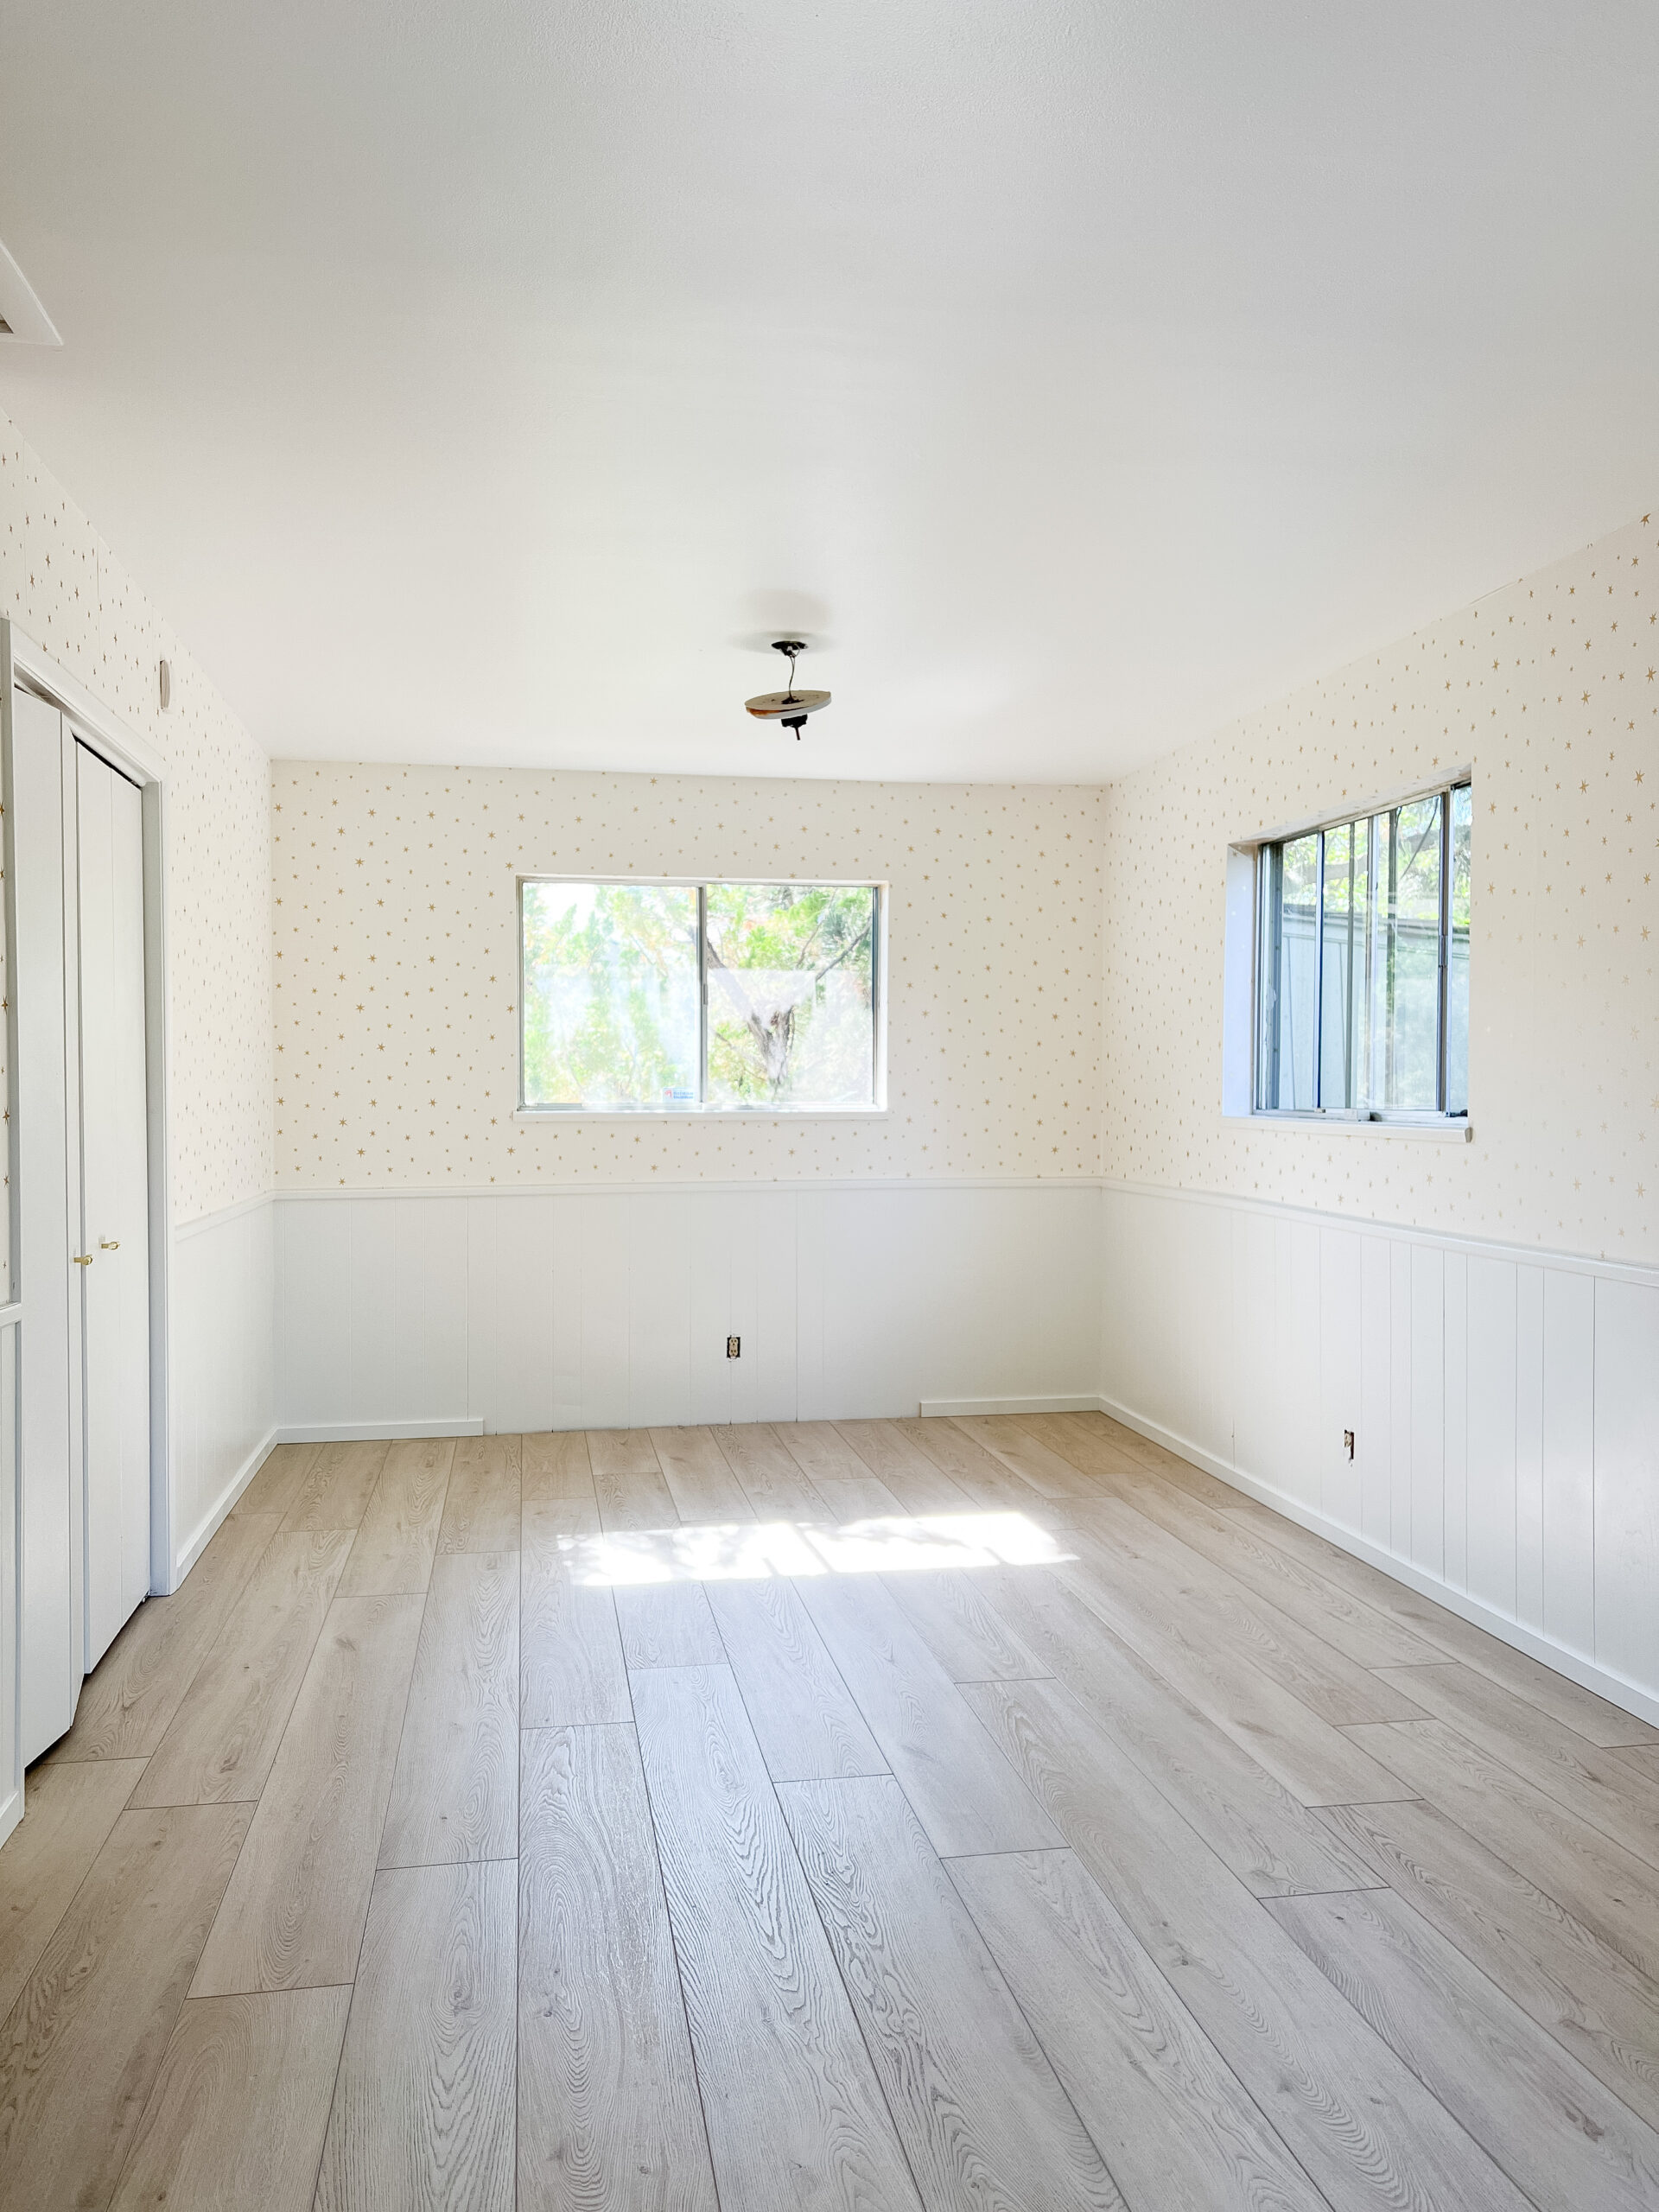
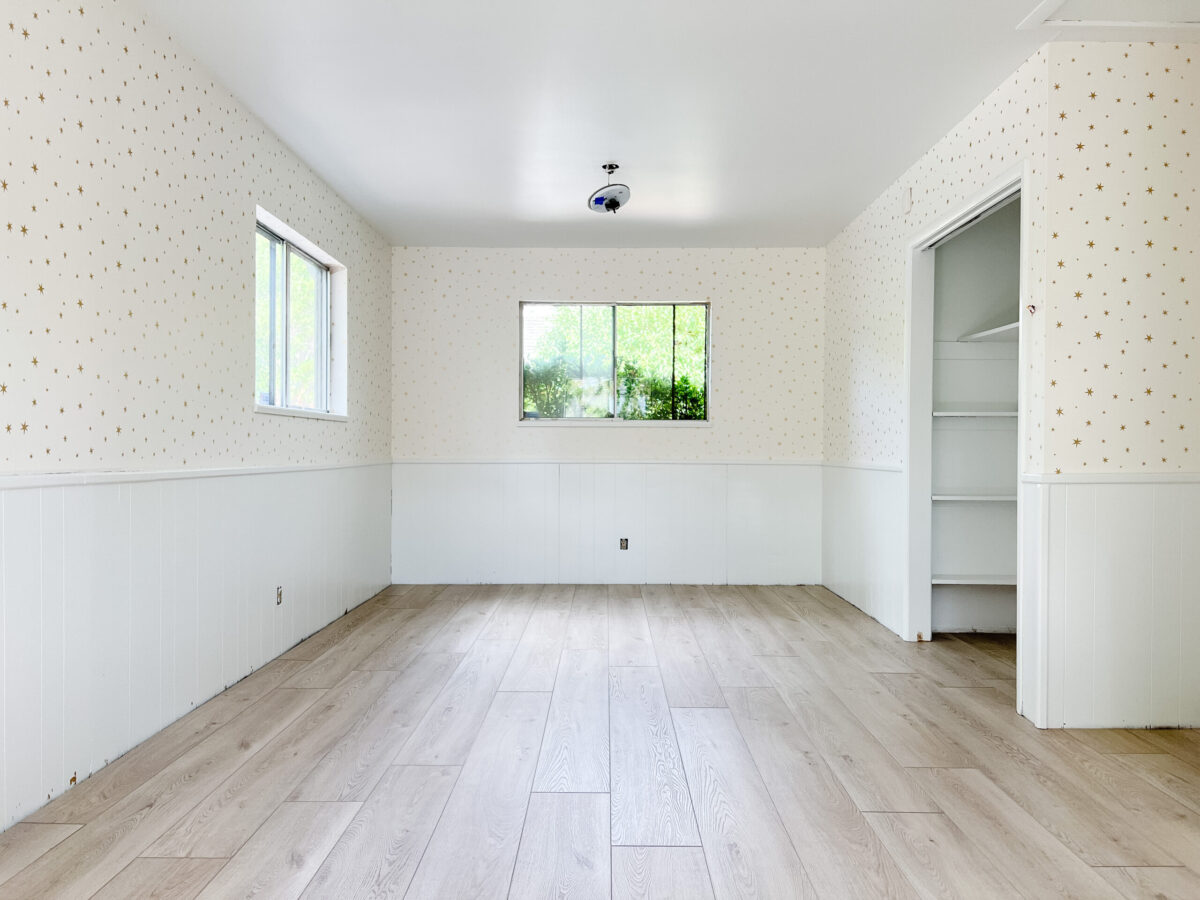
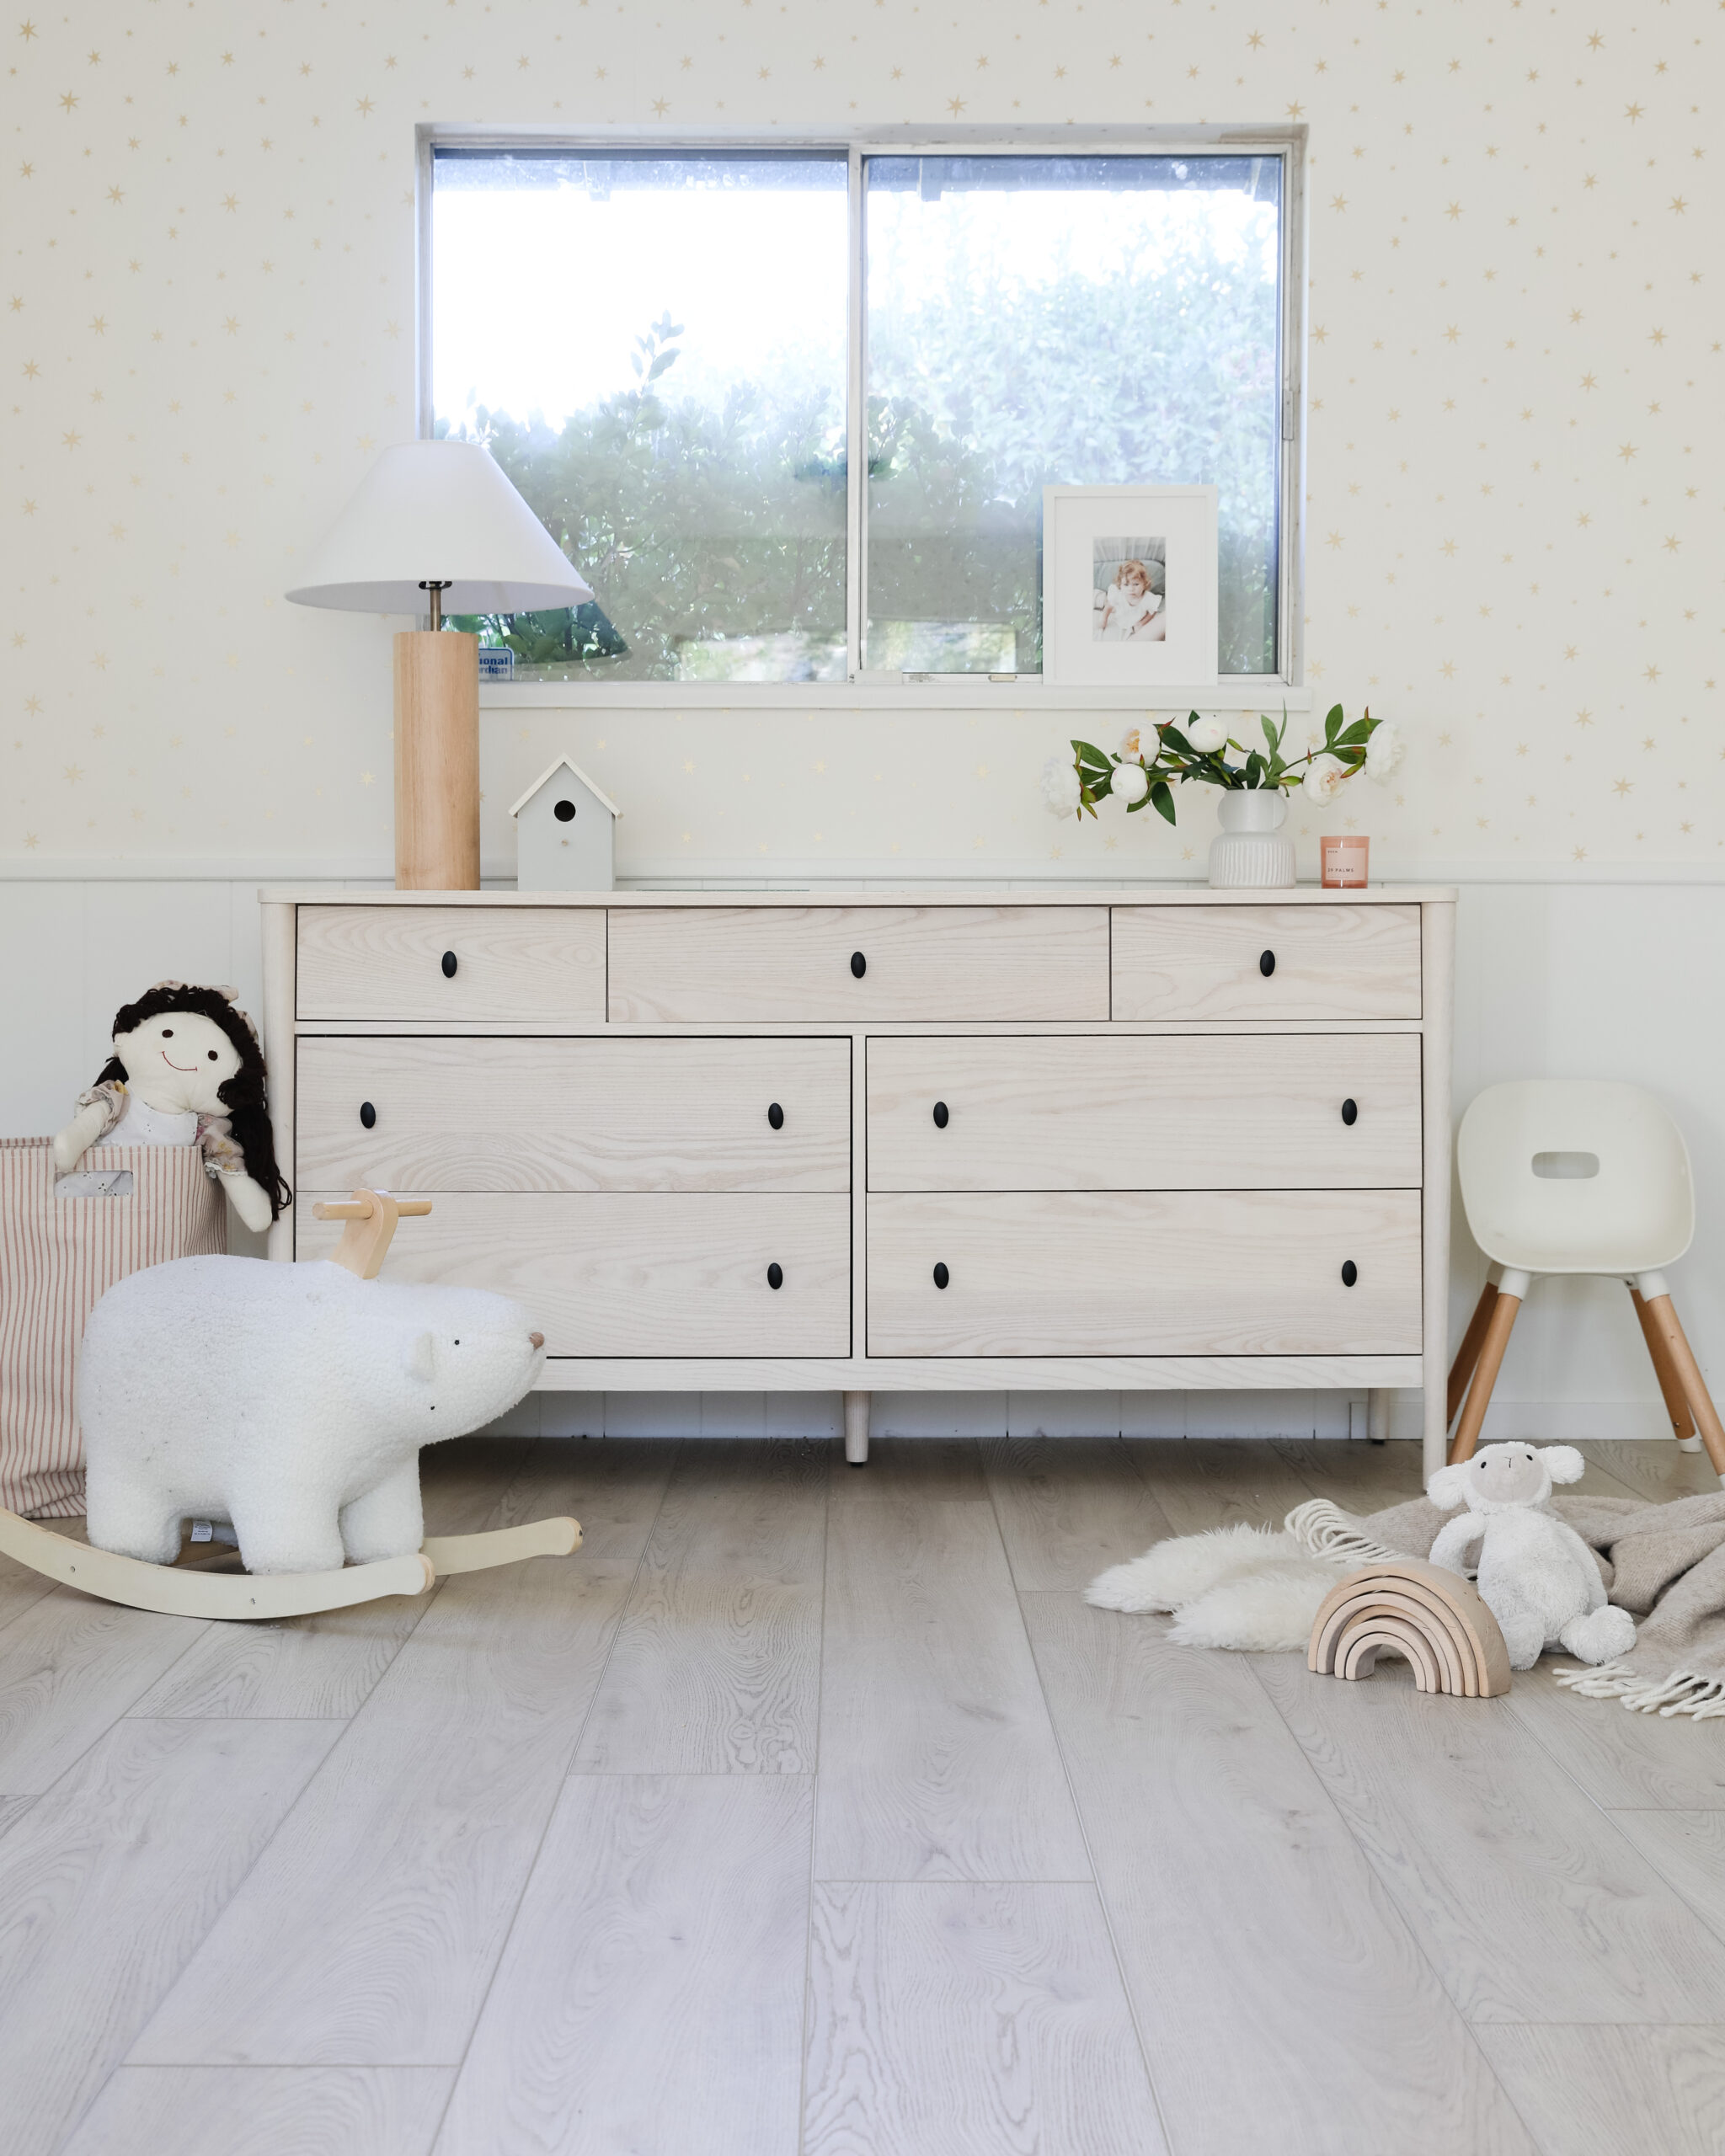
Laying flooring is always a complicated process, but Hewn Stoneform flooring was truly a breeze to install. Look how fabulously the flooring turned out!
These floors were only part of Halo’s bedroom transformation. Stay tuned for when we finish the whole room!
